
You will not believe how easy it is to make pad see ew at home. I'm not kidding. This noodle dish is a popular street food in Thailand that is simple, but packed with flavor. These are some of the most delicious, comforting noodles you'll ever eat. So let's make some easy chicken pad see ew.
What is Pad See Ew?
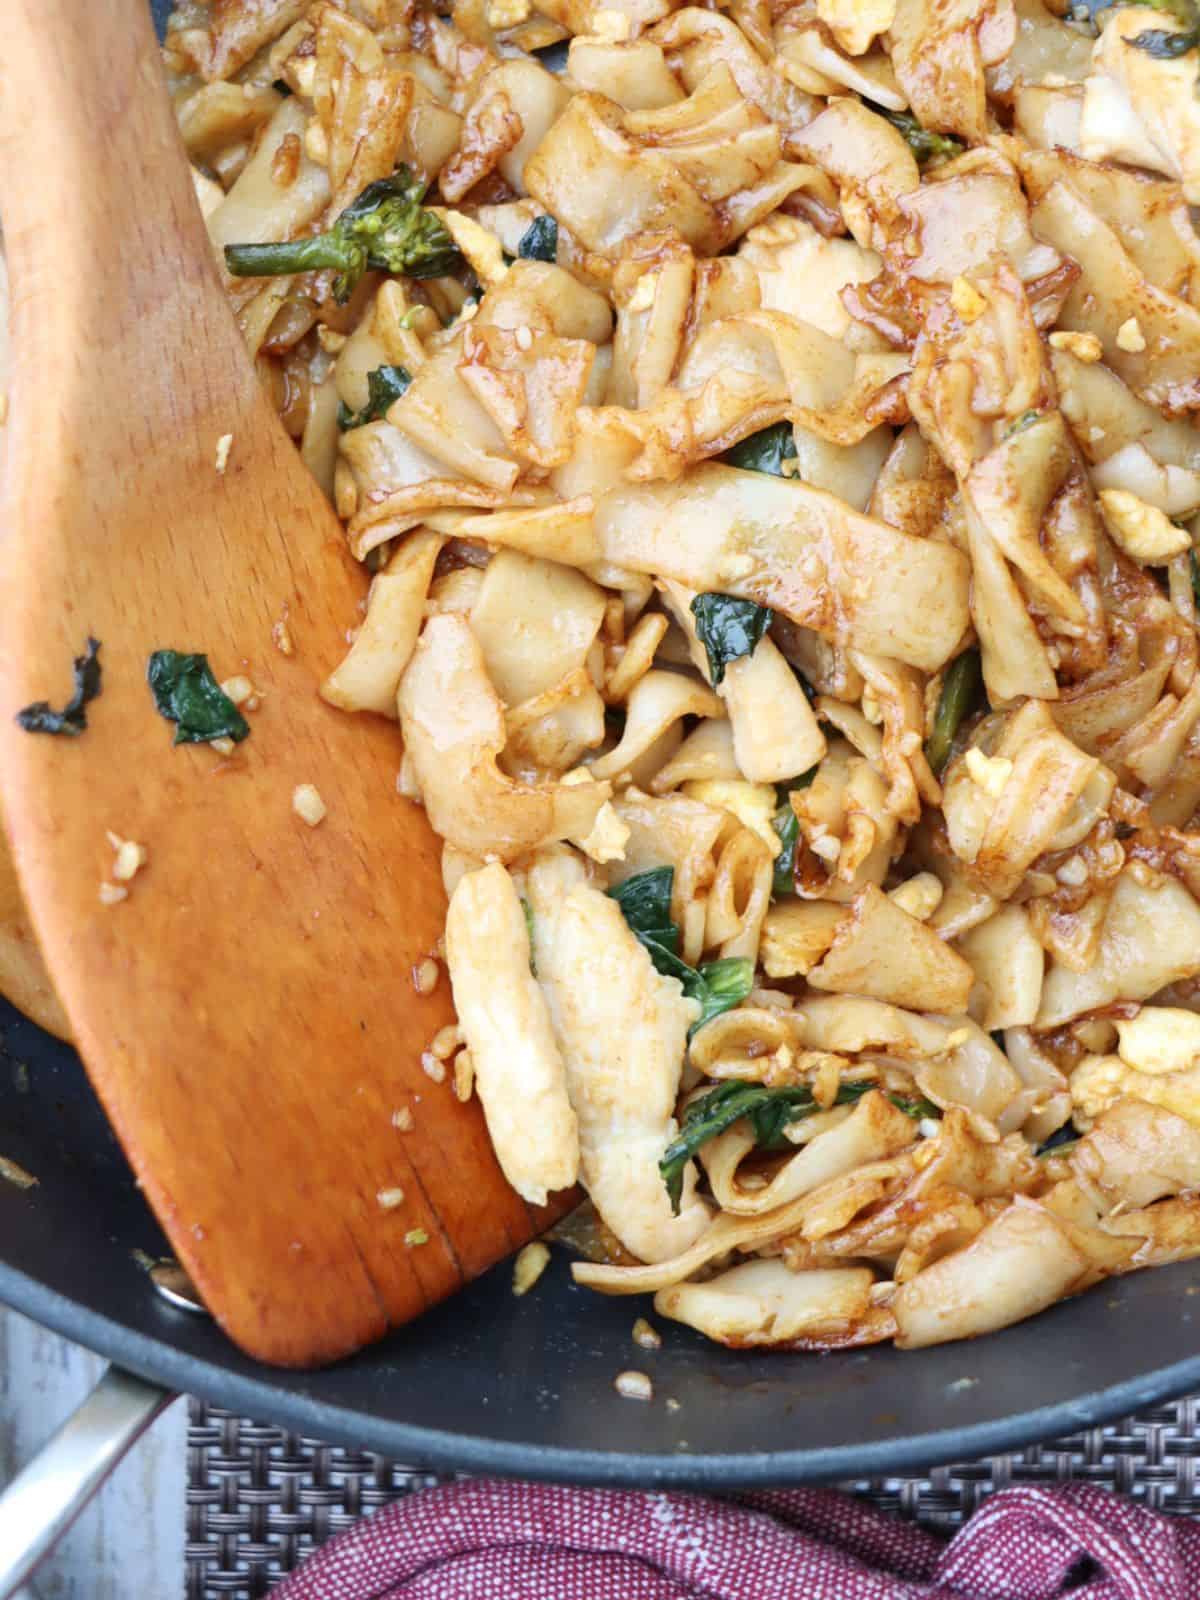
Pad see ew is made with wide rice noodles that have the most incredible, soft, silky texture of any noodle I've ever tried. Typically, they are fried in a pan with chicken, gai lan (Chinese broccoli), egg, and sauce.
I've been to Thailand a bunch of times and this dish is available pretty much everywhere you go. And it's delicious every.single.time. The noodles are comforting and light. I never feel overly stuffed after eating pad see ew. I mean, it can happen if you eat the whole pan yourself and it's easy to want to do that...lol.
Pad See Ew: That Flavor you can't Quite Define?
There is a distinct flavor to pad see ew that sets it apart from other noodle dishes in my opinion. You must let the noodles caramelize/char on the bottom a little when you cook them. If you've already tried making it at home and it didn't come out quite right, this key step was probably missing. This requires patience. It's tempting to just toss the noodles in the sauce and eat them. Try not to do that.
Once you add the sauce to the pan and give the noodles a quick toss to coat - LET THEM SIT THERE for about a minute. The heat will caramelize the sauce a bit and give it that slightly charred look on the noodle. It creates that pad see ew flavor that puts it over the top.
For Easy chicken Pad See EW: Less Is More
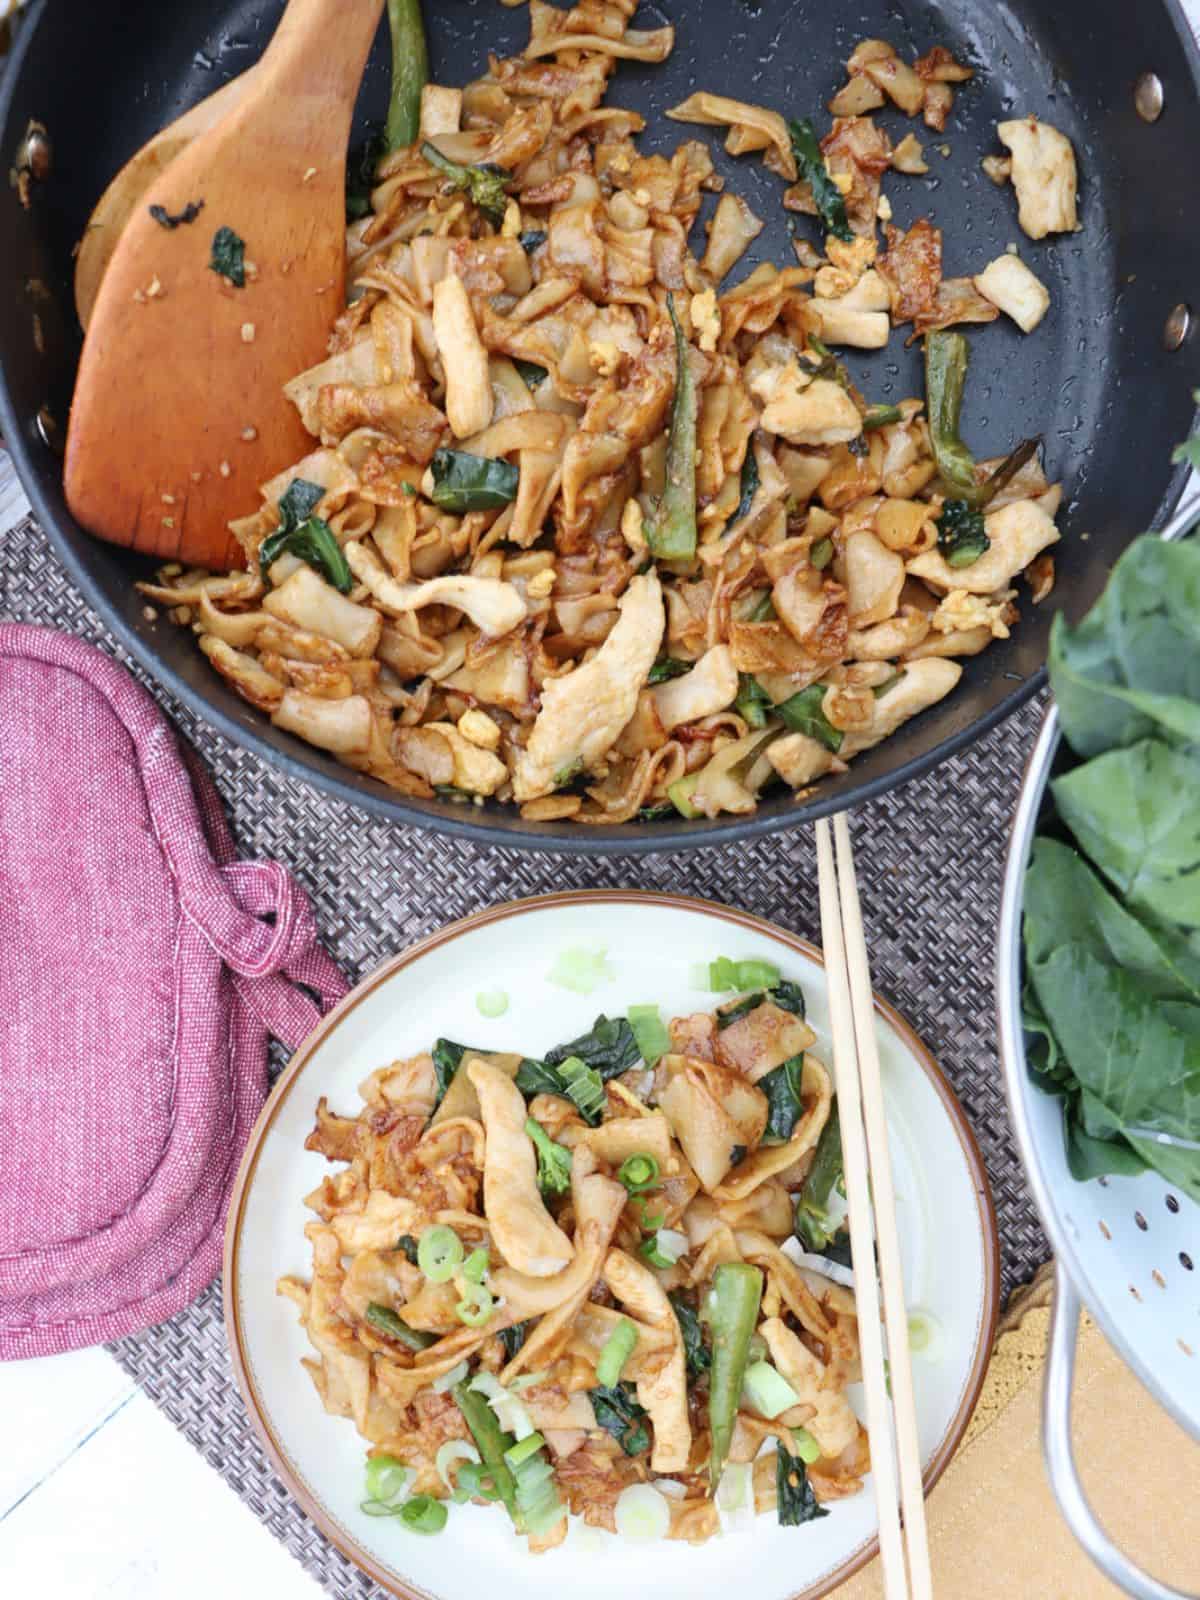
This dish is best made in portions for 2-3 people. As mentioned above: caramelizing the noodles on the bottom is a key this recipe. If you pack the pan with too many noodles - you don't get that over-the-top char flavor. And that is the flavor that sets apart a meh pad see ew from an outrageous pad see ew.
Would you like to save this?
You'll also be the first to hear about new recipes in my weekly-ish newsletter! 🙂
I made this mistake when I was testing the recipe. I love making big batches of Asian noodles. Love it. Having leftovers to re-heat for lunch is a central part of my weekly cooking routine. And who doesn't want tons of pad see ew on hand?
My suggestion if you want to make a large batch (doubling the recipe) is to prepare them in two separate pans. When I visited a friend around the time I was testing this recipe, we did two separate batches in two pans and it worked great.
Easy Pad See EW: The Noodles and Sauce
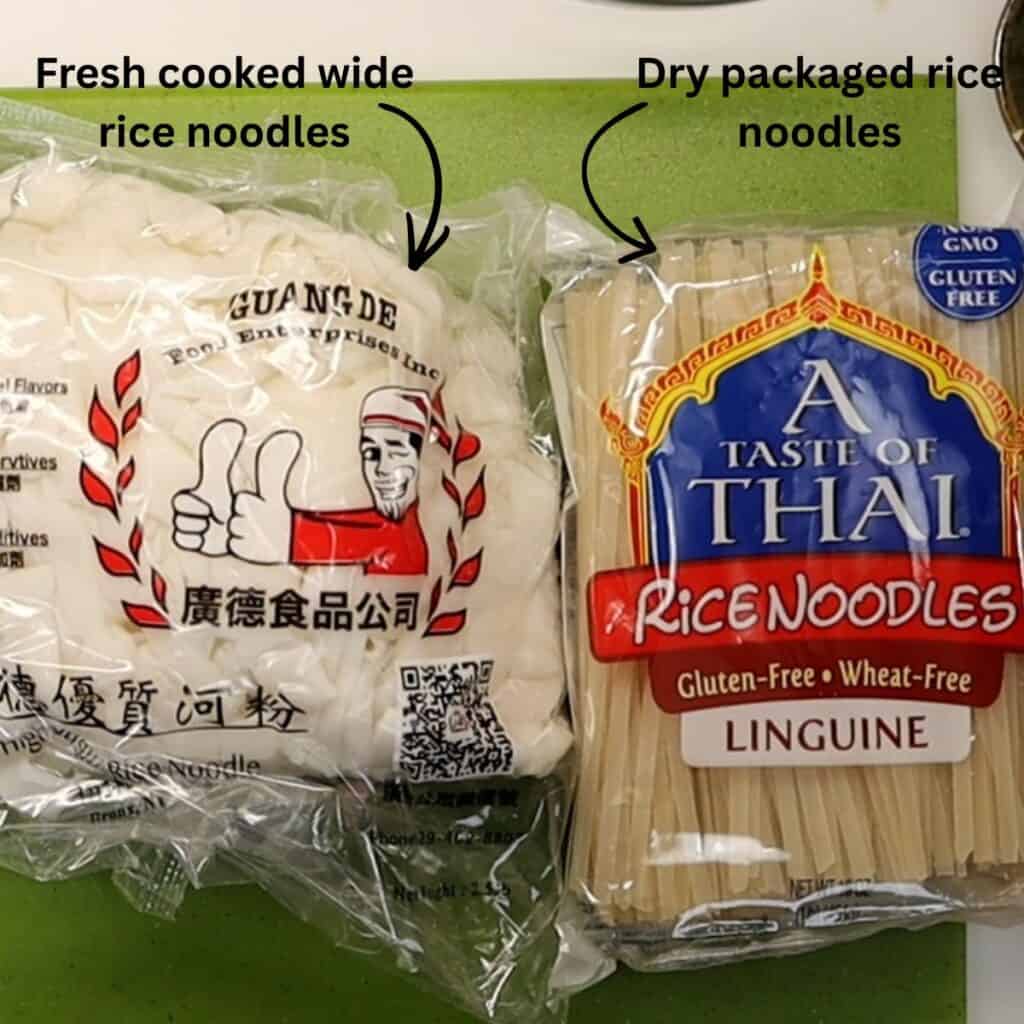
I am very lucky to live near a huge number of Asian markets and have access to tons of ingredients. At my absolute favorite market, they sell bags of the wide rice noodles for pad see ew. They are fresh, already cooked and made locally. This is the most ideal scenario for this recipe. Get your hands on those fresh noodles if you can! If you simply can't find them anywhere (you must at least try! :))go with the store bought Thai rice noodles (linguine-sized) at your regular grocery store. (see pics below)
The sauce comes down to four main ingredients and it's so easy - especially if you love cooking with an Asian flair and have these staple ingredients in your kitchen:
- Dark soy sauce
- Thai or regular soy sauce
- Oyster sauce
- White vinegar
- Sugar
Looking for More RecipEs with An Asian Flair?
- Outrageous Chicken Lo Mein
- Char Siu Chicken Thighs & Char Siu Chicken Fried Rice
- General Tso's Chicken (Trader Joe's Hack)
- Chicken & Eggplant Stir Fry
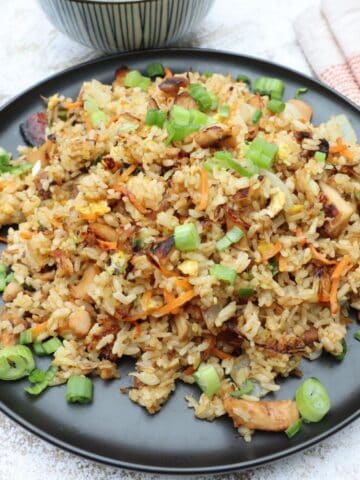
- Insane Fried Rice with Chinese Sausage
- Delicious Crispy Thai Pork Toast

Easy Chicken Pad See Ew (Stir Fry Thai Noodles)
- Prep Time: 15 minutes
- Cook Time: 10 minutes
- Total Time: 25 minutes
- Yield: 2-3 portions 1x
Description
- You’ll never spend $18 on take-out pad see ew again. You have to try this easy chicken pad see ew – it’s incredible!
Ingredients
- 3 teaspoons garlic, finely diced (about 2-3 small/med cloves)
- 1 pound fresh, already-cooked wide rice noodles (see note about noodles)
OR
- 8 ounces of dry rice noodles, linguine size (cook to package instructions)
- 1 small bunch of gai lan (Chinese broccoli; 3-5 stalks depending on size; see substitutions in notes)
- 1 cup (heaping) boneless chicken breast, sliced into thin strips
- ¼ teaspoon salt
- 1 large egg
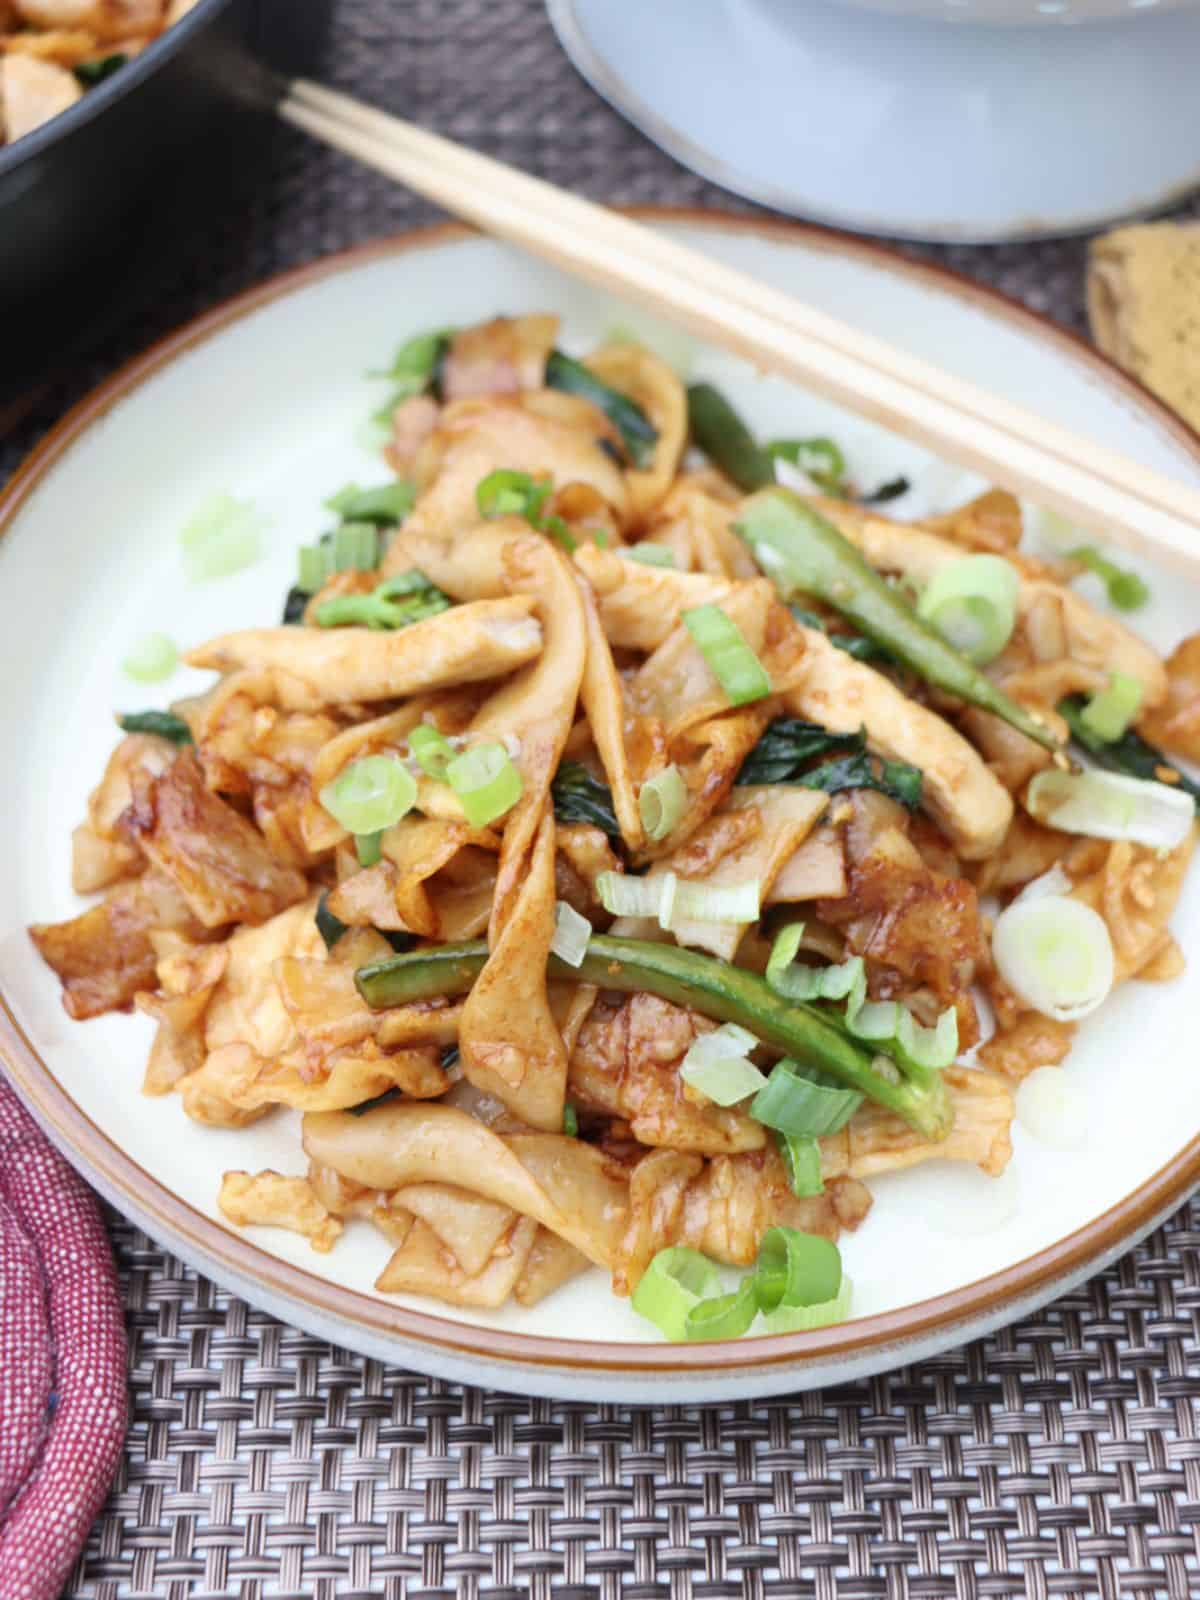
- 1 bunch of scallions chopped, optional garnish
- Neutral oil (I used peanut)
For the sauce:
- 1 ½ tablespoons dark soy sauce
- 1 ½ tablespoon thin Thai soy sauce (or regular, low sodium soy sauce)
- 2 tablespoons oyster sauce
- 3 teaspoons white vinegar
- 2 ¼ teaspoons white sugar
Would you like to save this?
You'll also be the first to hear about new recipes in my weekly-ish newsletter! 🙂
Instructions
- Don’t forget to watch the video with step-by-step instructions. TIP: Scroll down to the bottom of my blog post and watch the video inside the recipe card. That links to my YouTube channel and has fewer ads.
- Dice the garlic fine and set aside.
- If you’re using the optional scallion garnish, chop those now and set aside.
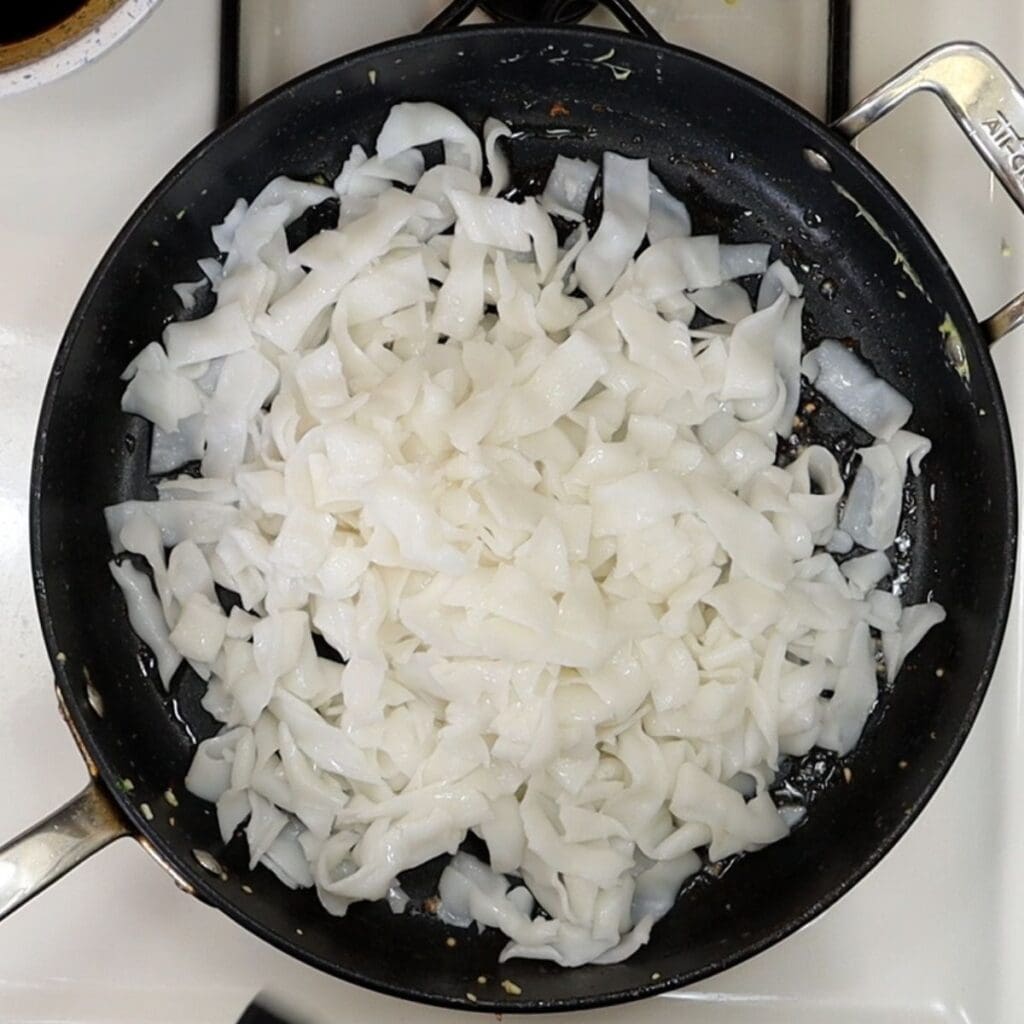
- If you’re using the fresh, already-cooked wide rice noodles: The noodles need to be de-glopped. You should do this while you’re working on the other prep so they are de-glopped when you are ready to assemble. The ones I buy are in a package and they’re all stuck together. I used the method the woman at the market gave me. They are already oiled so you don’t need to add anything here. Put the noodles in a large bowl and microwave them in 30-60 second increments. Turn the noodles over a few times while doing this. You’ll see them start to loosen up and you can gently pull at them to help with the de-glopping. You’ll know they are done when you can easily pull out a fistful of noodles with nothing stuck together. It takes about 7-10 minutes or so while you’re doing other things. Then follow the assembly instructions below.
- If you’re using the store-bought dry linguine rice noodles: The store-bought package is usually 1 pound (16 ounces). You will need half the box, or 8 ounces for this recipe. Plan your time, have your boiling water ready by the time you’re ready to add the chicken to the pan and cook to package instructions. Once cooked, add to the pan and follow the rest of the assembly instructions below.
- Chop the thick stems/stalks from the leaves of the gai lan (Chinese broccoli). Take the thick stalks in cut them in half lengthwise, then cut into thin strips. Some stalks are thicker than others. They should look like sticks when you’re done. Put those in a large pan with a little oil and start cooking those on low-to-medium heat while you’re doing your other prep. These take longer to cook so we’ll start cooking those first. Should be 3-5 minutes to soften. My video shows this well – it’s at the bottom of my blog post. Fewer ads if you watch the video that links to my YouTube channel.
- Rough chop the gai lan leaves and set aside with the garlic. Bite-sized pieces work well here. We’ll add those to the pan later when we do the final assembly.
- If you do not have access to gai lan (Chinese broccoli), you can use regular broccoli OR broccolini. You can still cook it in the pan the same way with a splash of oil, but I would cover it to let it steam a bit. Keep your eye on it so you don’t overcook. I like my broccoli al dente. Cook yours to your own liking.
- Make the sauce: add the dark soy sauce, Thai or regular (low sodium) soy sauce, oyster sauce, white vinegar, and sugar in a bowl and mix until combined.
- Cut chicken into thin strips. I found it worked very well to use the already-thin-cut boneless chicken breast for this. Made it easier to cut into thin strips. I used two thin cutlets and that gave me one heaping cup of chopped chicken. Salt the chicken – maybe ¼ teaspoon or so.
- Add the chicken into the pan with the gai lan stems. Those should be softer now. Turn heat to medium-high, add chicken and a splash of oil, and cook couple minutes while stirring.
- Add the garlic to middle of pan with a little oil. Let it cook in the middle of pan 30 seconds to get fragrant… then combine with chicken and gai lan stems. Stir another minute.
- Add gai lan (Chinese broccoli) leaves to the pan and toss to combine. It will only take a minute or so for them to wilt (much like the way spinach does).
- Push the chicken and gai lan mixture to side of pan and crack an egg in the empty half. I scrambled with a plastic whisk because I used a Teflon pan… Then combine with chicken mixture and mix another minute.
- Remove chicken and gai lan mixture from the pan and set aside.
- Add a tablespoon or so of neutral oil (I used peanut) to pan and let it get hot on high heat. Add the cooked noodles and spread across the bottom of pan. Pour sauce over noodles and toss gently to coat the noodles with the sauce. These are delicate noodles so handle with care. Using two wooden spoons worked well for me.
- Make sure the noodles are covered in the sauce, and spread out across the bottom of the pan. Now let the noodles sit in the pan for a minute or so and don’t touch them. This is important. You’ll want the sauce and noodles to caramelize on the bottom of the pan. This is part of the magical flavor of pad see ew. The noodles will get browned (almost like a seared look) on the bottom.
- Add the chicken and gai lan mixture back into the pan and toss gently to combine everything together. Serve immediately.
Notes
- If you’re using the fresh noodles and they are already cooked (this is what I did). You’ll need one pound of the COOKED noodles.
- The Asian market where I buy my noodles was out one time, but they directed me to two other markets in the area that carry the wide, already-cooked rice noodles. I picked up a package at another market, but the noodles were not cut yet. The package came in small sheets of rice noodles. It was very easy to figure out how to cut them so if that is what you find, grab them and cut the noodles yourself.
- If you cannot get the fresh noodles at a local Asian market near you, go with the linguine-sized rice noodles at your local grocery store – or something wider if you can find that. They always have the linguine sized at my usual supermarket. I show the package in the video and a picture is in the blog post if you need a reference point.
- If you’re able to find gai lan (Chinese broccoli), you probably won’t need the whole bunch. Use the amount needed for this recipe and cook the rest as a side dish for dinner one night. Same method: cut the stems into thin strips and cook a few minutes to soften. Once softened, add a little garlic to the pan, cook until fragrant – 30 seconds- 1 minutes, add the leaves and let them wilt – a minute or so. Drizzle a little soy sauce over them. Serve immediately.


Leave a Comment