
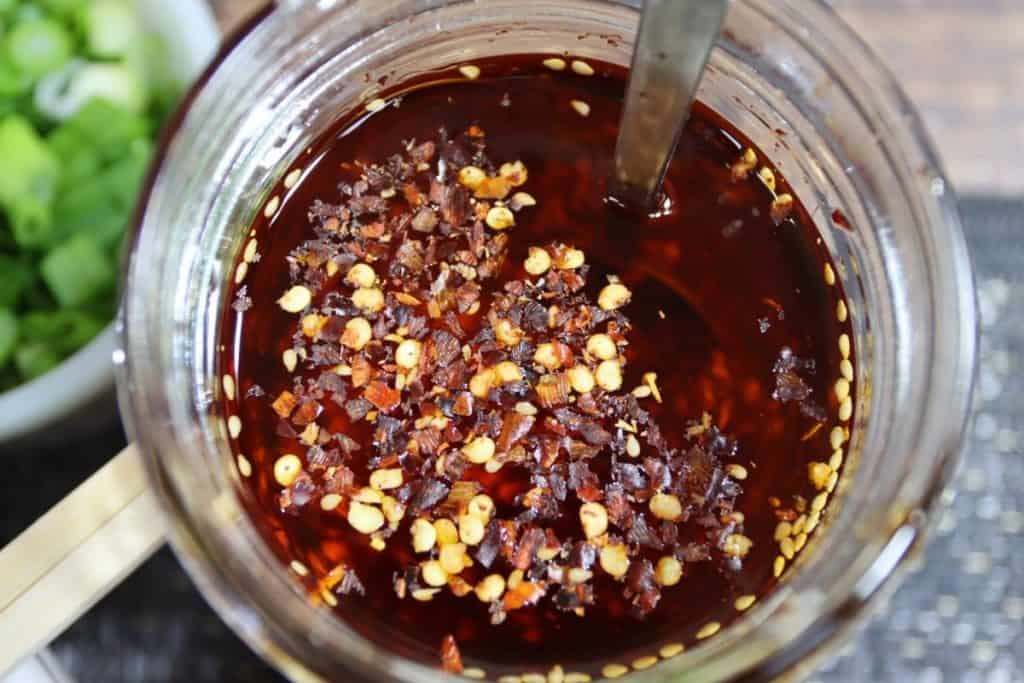
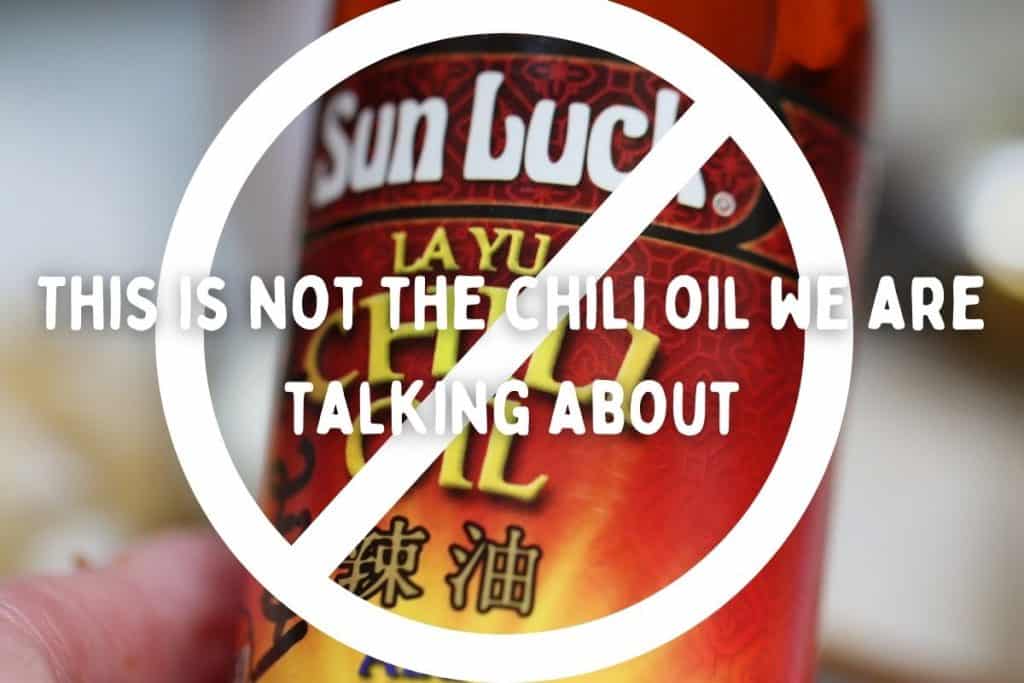
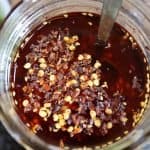
I have a real treat for you with this one. Homemade chili oil, but it's not just oil. There is sediment involved. What is that exactly? Well, the sediment is from the onions, ginger, cloves and other ingredients you added to make this incredible chili oil with sediment. Chili oil is not that stuff you see on the shelves of your supermarket in the international aisle. It's doesn't run clear like that. It's got stuff in it. Let's break it down.
The whole reason I decided to attempt chili oil with sediment is because I wanted to make Dan-Dan Noodles. I saw it a year ago online and did a lot of reading about it. I won't get into my obsession with Dan-Dan noodles now. I'll save that for my Dan-Dan Noodle post which is coming soon. Okay, that might be too many Dan-Dan's for one paragraph!
This particular noodle recipe calls for chili oil with sediment. Now, I could have gone to an Asian market and purchased a jar. I realize this. But I am a bit of a picky pants with spice levels. I didn't want to buy a certain kind and have it be waaaaay too spicy. Alternatively, I didn't want it too mild either. Since I never bought this before, how would I know which one to buy? And then I thought, Stacey, you are a food blogger, why don't you just figure out how to make your own? Capital idea!
You Can Go Small or Big with Spice For This Chili Oil
So off I went down another internet rabbit hole researching how to make my own chili oil with sediment. This was actually a lot of fun! I figured out how to make a delicious oil that isn't too spicy, but you can make it spicier if you so choose. There are so many ingredients you can add I discovered. I also realized that I already had every conceivable ingredient on hand. My creation is an everything-but-the-kitchen-sink delight and it came out better than I could have possibly imagined!
You most likely have half to three-quarters of these ingredients in your pantry right now. The other ingredients can be obtained at your local Asian market. In a pinch, if you don't have an Asian market nearby, you can order them on Amazon. I will warn you though - I have found with spices Amazon tends to be on the pricier side with certain items. Look for a deal if you go that route.
Would you like to save this?
You'll also be the first to hear about new recipes in my weekly-ish newsletter! 🙂

The recipe here, as it's printed, is fairly mild and not very spicy. If you want your mouth on fire, add a lot more red pepper flakes and that should do the trick! Don't be scared about the Sichuan peppercorn ingredient. Contrary to the name, I didn't find it very spicy.
Run-down of the Possible Unfamiliar Ingredients
When you buy new ingredients, read the labels. If it's an Asian market and the labels are in another language, they will still usually have a few English words, like "mild," "medium heat" or "hot." Some ingredients will let you know the spice level on the package and you can buy according to your spice preference. If you are not sure just ask for help. There are people all around us in this world - standing by to assist when needed. All you have to do is ask.
- Gochugaru: Korean chili flakes. These are fairly mild and have a nice smoky flavor.
- Kashmiri Red Chili Powder: This is also mild and has a slightly sweet flavor and is great for adding a nice red color.
- Gochujang: Korean chili paste. This is salty, slightly smoky, adds a nice depth of flavor. Also, I don't think this is too spicy, but this may be one of those ingredients where you need to read the spice level on the label. I believe at the store where I buy this, levels of spiciness are printed on the container. I use the mild one.
- Ground Sichuan Peppercorn: Mild spice, hint of citrus, has an earthy-type flavor.
- Star Anise: Right away the smell lets you know of the mild licorice flavor.
So there you have it! Testing this recipe was so much fun and I now LOVE having chili oil on hand for all sorts of things! You can keep in on the counter for a day or two, but ultimately it should go in the fridge. Add a spoonful to your fried eggs, grilled chicken, noodles (obviously), drizzle on vegetables or use as a stir fry topping. I always keep a bag of frozen pork dumplings in my freezer for when I don't feel like cooking. I steam them and drizzle with a little chili oil and they are awesome! You will find ways to incorporate this into your meals, trust me!
Looking for More International Delights? Ohhh, I've Got A Lot of Options for You:
- Dan Dan Noodles (the reason I made this chili oil in the first place)
- Chicken & Eggplant Stir Fry
- General Tso's Chicken with Trader Joe's Hack
- Korean Beef Bulgogi
- Anthony Bourdain's Macau-Style Pork Chop Sandwich
- Cashew Chicken Stir Fry
- Fried Rice with Chinese Sausage
- Ralphs Amazing German Meatball Soup
- Croque Monsieur: The Best Ham & Cheese Sandwich You'll Ever Eat
- Easy Restaurant Style Chicken Tikka Masala
Chili Oil with Sediment
- Prep Time: 10 minutes
- Cook Time: 8-10 minutes
- Total Time: 22 minutes
- Yield: 2 cups of chili oil 1x
Description
Homemade chili oil with sediment was a blast testing and tasting! You can make this as mild or spicy as you like.
Ingredients
- 1 tablespoon sesame seeds (toasted)
- 2 cups Canola oil
- 1 tablespoon garlic (finely diced - about 3 cloves)
- 7 slices of ginger
- 1 cup onion, diced
- 2 teaspoons gochugaru (Korean chili flakes)
- 1 teaspoon ground szechuan/sichuan peppercorn
- 1 tablespoon sugar
- 1 teaspoon salt
- 1 teaspoon Kashmiri red chili powder
- ½ teaspoon crushed red pepper flakes (more if you want it spicier)
- 1 whole star anise
- 5 cloves
- 1 large bay leaf
- 1 tablespoon gochujang (chili paste)
- 2 tablespoons low sodium soy sauce
NOTE: VERY IMPORTANT. YOU NEED A HEAT-PROOF BOWL FOR THIS. (see note# 1)
Would you like to save this?
You'll also be the first to hear about new recipes in my weekly-ish newsletter! 🙂
Instructions
- Put sesame seeds in a small pan and toast on the stovetop on low heat for about 5 minutes until they are golden in color. You’ll want to stir them so they don’t burn. I usually do other prep while they’re toasting, but don’t forget about them or they will burn.
- Pour the canola into a pot and heat on low-to-medium heat.
- While the oil is heating, do your other prep. Finely dice the garlic and set aside.
- Thinly slice the ginger and set aside.
- Finely dice the onion.
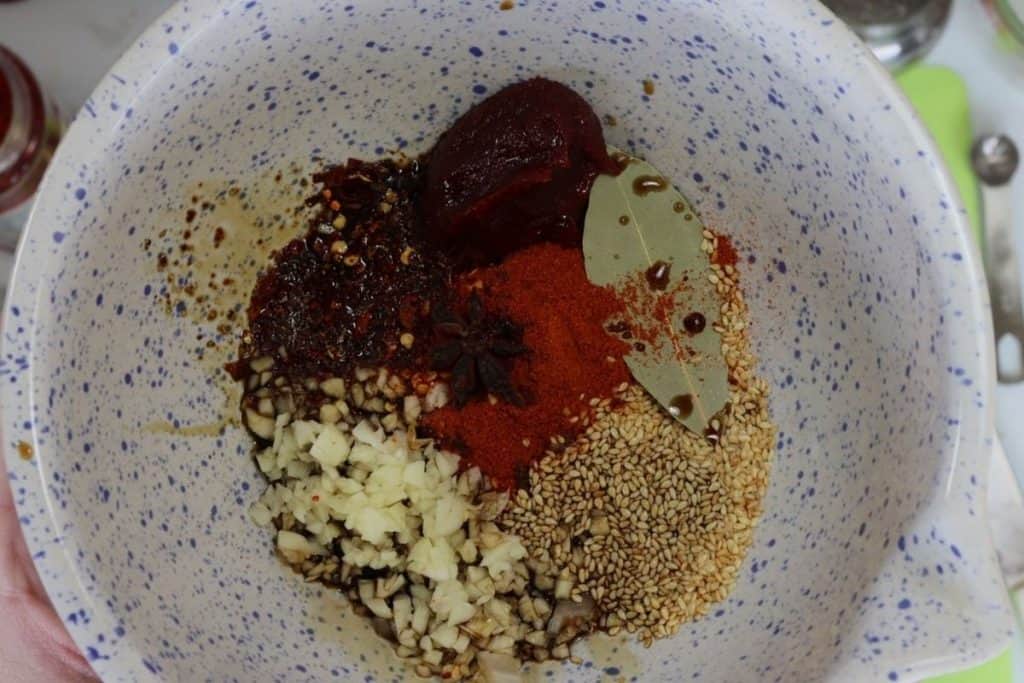
- In a HEAT-PROOF bowl, add the following ingredients: gochugaru (Korean chili flakes), ground Sichuan peppercorn, sugar, salt, Kashmiri red chili powder, red pepper flakes, star anise, cloves, bay leaf, garlic, gochujang (Korean chili paste), toasted sesame seeds, soy sauce.
- The oil should be hot by now so add the diced onion to the oil and let them fry for a few minutes. They should be sizzling right away after you put them in the oil. After 3-4 minutes, add the ginger slices. Let it fry another 4-5 minutes until the onions turn golden brown in color.
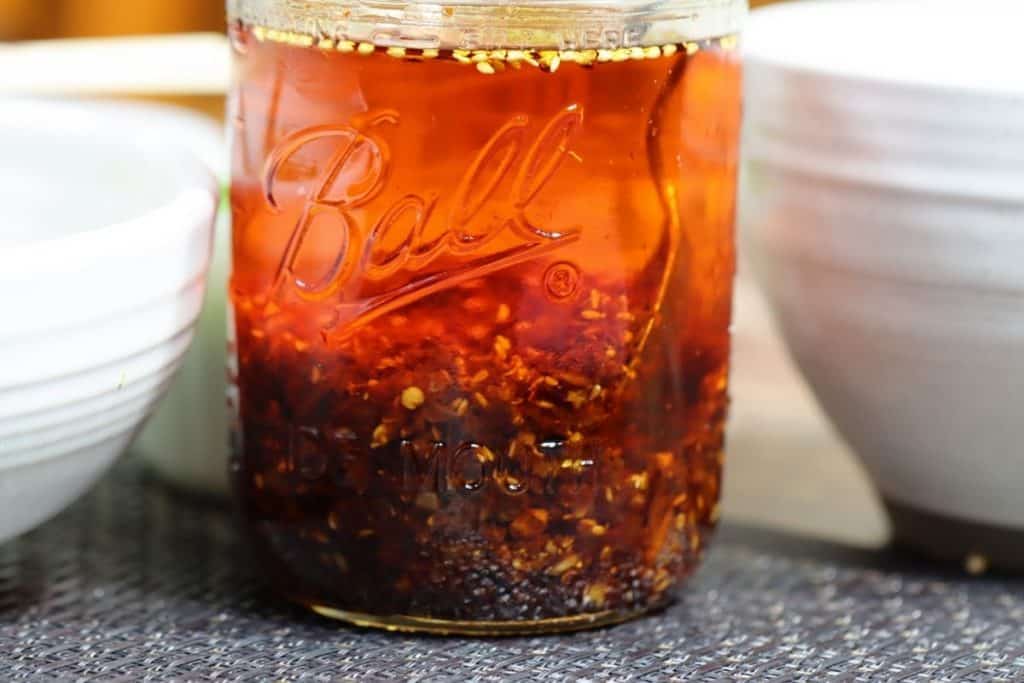
- Once the onions are golden brown, it’s time to add the hot oil mixture to the HEAT-PROOF bowl with the other ingredients. Pour the hot oil mixture, carefully, into the HEAT-PROOF bowl. The whole bowl will sizzle and it’s pretty cool, actually. I gently started to whisk the ingredients together. The sizzling will stop within a minute or so. I always whisk thoroughly to make sure that glob of gochujang gets dissolved. That’s it. I usually let it sit out in the bowl overnight (covered). Then it’s ready for use! Transfer to a glass mason jar – an old spaghetti jar will do too or any glass jar you may have on hand. I like to let it sit overnight before using.
- I usually pull out the star anise, ginger slices and bay leaf the next day. Sometimes I can't find the cloves because they are so small. I find them later when they end up in my mouth!
Notes
- If you don’t have a heat-proof bowl just use another pot to put your dry ingredients in. Whatever you use, it needs to be able to withstand adding the sizzling, bubbling VERY HOT canola oil too. I mention the HEAT-PROOF bowl so many times because certain glass bowls are not heat-proof and the bowl with crack or explode when the hot oil is poured into it. Please keep this in mind.
- I’ve ordered spices on amazon which is good to have as an option. However, if you can find things at local Asian markets you will get a better price.


Leave a Comment