
I really love dill pickles. Anyone else? Sweet pickles are a "no" for me. I cannot enjoy a pickle that has any sweetness. To me it's about a briny, salty, crunchy pickle. Whole. Spears. Rounds. I'll take 'em any which way. But homemade garlic dill pickles hold a special place in my heart. Right next to potatoes, my all-time favorite food in the universe. Yes, I just mentioned (for the tenth time on this website) that potatoes are my favorite food in the world.
Homemade garlic dill pickles - because why not?
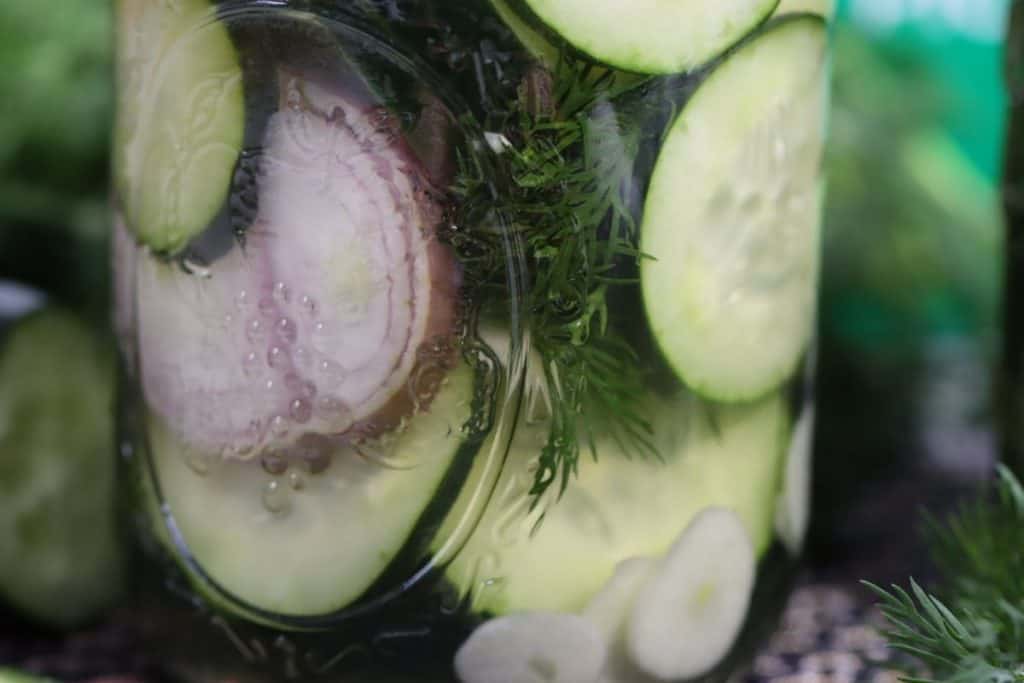
But let's get back to pickles. We're talking pickles, not potatoes. Have you checked out Ralph's Amazing German Meatball Soup yet? We're not talking about meatball soup either, but I must mention Ralph. He is an old friend originally from Germany and is an amazing home chef. He is the one who gave me the base recipe for these pickles. You can make them plain, but I love adding garlic, dill and shallots to my jars too. All you need is water, pickling salt, brown sugar, vinegar and a bay leaf for the base of this. Add the cucumbers, garlic, dill and shallot to those mason jars and presto: 3 weeks later you have delicious pickles.
Week Three = Pickle Party for Stacey!
It's hard to wait a few weeks before eating them so I start sampling them after the first week. They're good, but they still need another week. Week 2 I sample, and they are very tasty, but something magical happens on week 3 so I usually wait until then to have my pickle party. A pickle party? Yes, I have a pickle party when my pickles are ready, don't... you?
Would you like to save this?
You'll also be the first to hear about new recipes in my weekly-ish newsletter! 🙂
My favorite pickle party is smashed-thin burgers seasoned with salt and pepper on the outside. I get a nice crust on them, melt a slice of cheese and spread out my pickles on top. No buns allowed at my pickle party. Certainly, no buns. Just a crown of magnificent pickles. There is no bite of burger without a pickle on it. That's right, burgers and pickles in every bite at my pickle party. Wanna come?
Making pickles has never been easier... Wait, was it ever hard? No, not really. It takes all of fifteen minutes to make these. The hard part is waiting for three weeks until they're ready!
Enjoy life everyone! We only get one so why not make your own pickles? Seriously though, try to make delicious food in your kitchen. Every time we learn something new in life our knowledge base grows. Our minds develop a little more. Our cooking skills, in this case, become broader and we can share more with our loved ones. I've always been a believer that food is an expression of love. I think it's a great way to show people how much you care for them.
Print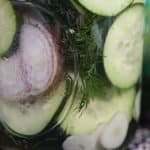
Garlic Dill Pickles
- Prep Time: 15 minutes
- Total Time: 15 minutes
- Yield: 3 pints of pickles 1x
Description
Want to come to my pickle party? Homemade garlic dill pickles are the guest of honor and they are briny, crunchy and fabulous!
Ingredients
- 6 cups water
- 2 tablespoons pickling salt
- 1 tablespoon brown sugar
- ½ cup white vinegar
- 1 bay leaf
- 3 garlic cloves
- 3 pickling cucumbers (see note#1)
- 2 small shallots, sliced into rounds
- 9 large dill sprigs
NOTE: It helps if you have a mandolin for this, but you can use a knife too.
NOTE: You will need 3-4 glass jars for this. I use wide mouth jars.
*** THE PREP/COOK TIME IS 15 minutes. You have to wait THREE WEEKS to eat them. ***
Would you like to save this?
You'll also be the first to hear about new recipes in my weekly-ish newsletter! 🙂
Instructions
- Put six cups of water in a pot and add: pickling salt, brown sugar, white vinegar, bay leaf. Turn heat on high and bring to a boil. Once it’s boiling – turn the heat off.
- While liquid is heating slice the garlic cloves thin and separate into three piles.
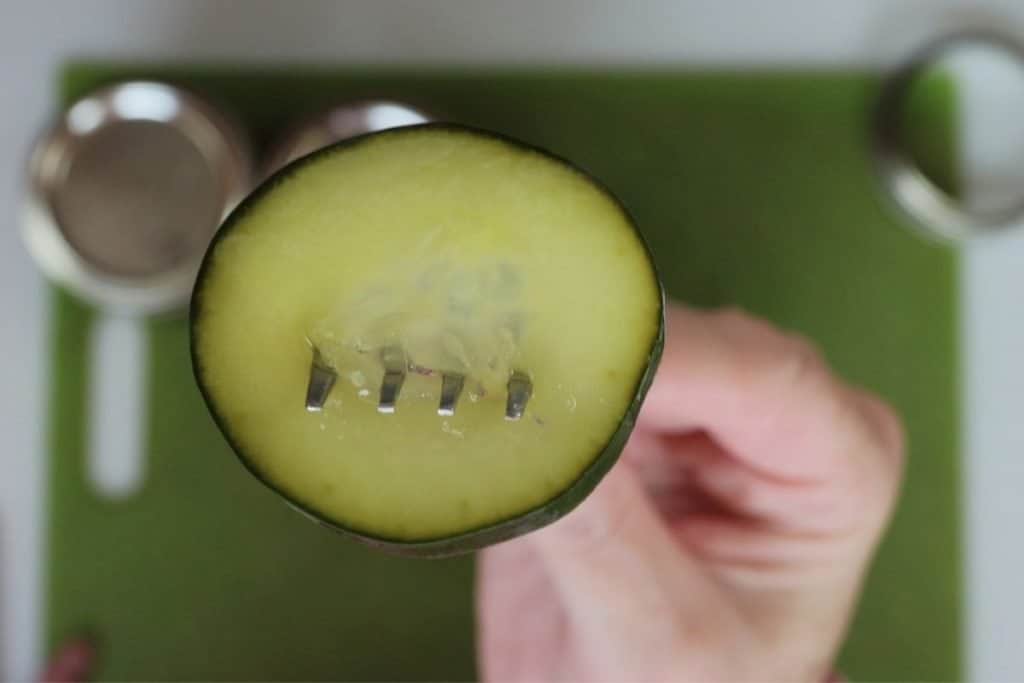
- Next, using a mandolin, slice the cucumbers at ¼” thickness. You can make them thicker if you prefer. If you don’t have a mandolin just use a knife and slice in uniform pieces.
- Slice the shallots into rounds and separate into three piles.
- Separate the dill into three piles and cut the longs stems from bottom.
- I usually line up my three portions of ingredients for each jar of pickles. (see video)
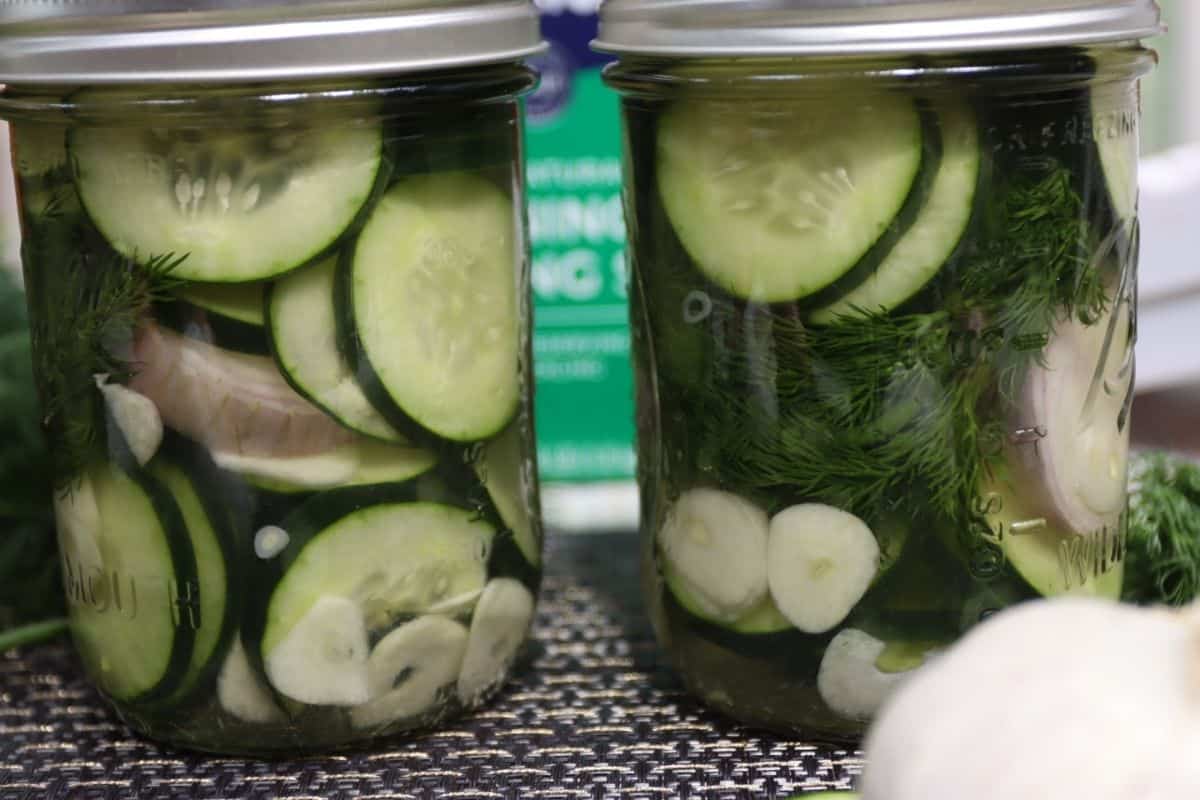
- Start by filling the bottom third of your glass jars (you must use glass for this) with the sliced cucumbers, then add the sliced garlic (spread it out), sliced shallot, then fold the dill sprigs and stuff into the jar. Add more cucumber slices on top of that – as much as you can fit. Do this for all jars.
- Add the hot pickling liquid to each jar leaving a small space at the top of the jar.
- Put the lids on and screw the tops tightly.
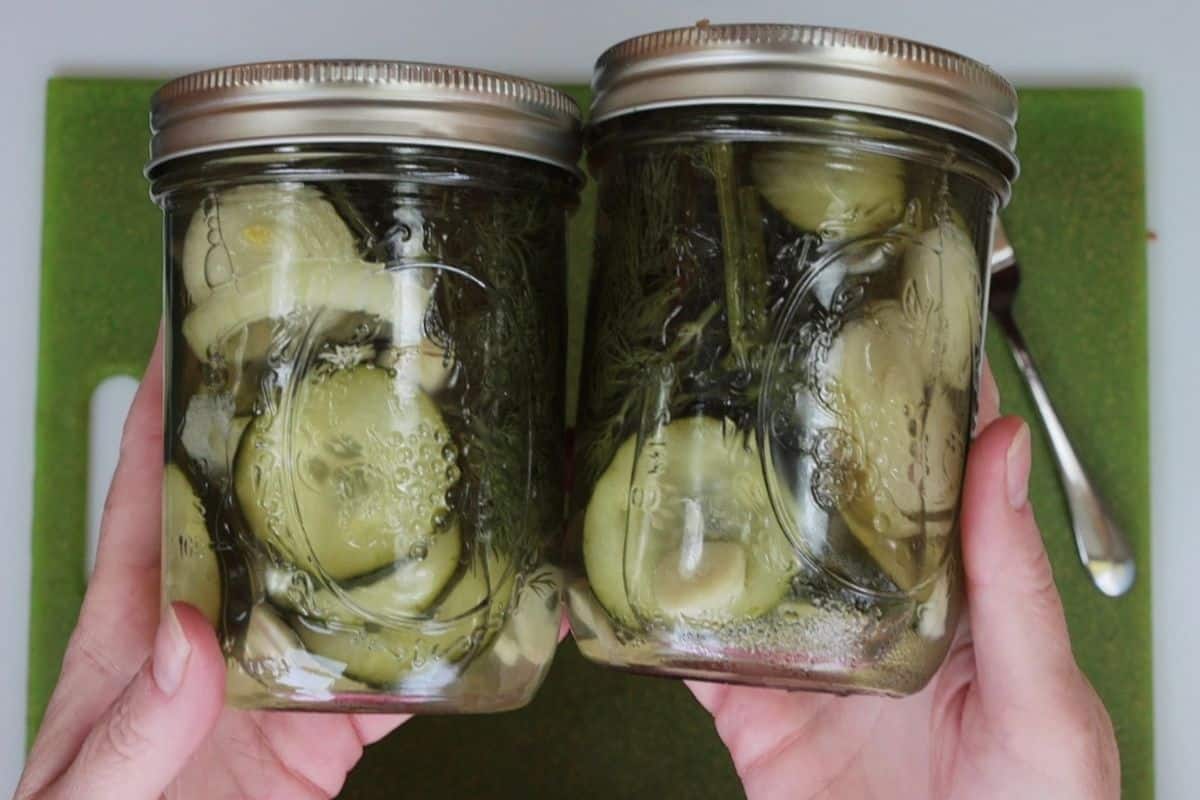
- There may be extra cucumbers depending on the size you bought and extra liquid too. If you have extra and another glass jar just make more.
- Put jars in the refrigerator for three weeks for best results. I usually taste one at the end of week 1, week 2 and then week 3. It’s helpful to understand the flavor differences at each stage.
Notes
- They don’t always have pickling cucumbers at the supermarket and they didn’t have any when I made this recipe. Using regular pickles works too, though they are slightly better with pickling cucumbers.
- If you have pickling spice you can add some to the pickling liquid. I’ve never been able to find that at the grocery store. Also, you can add other ingredients to experiment. If you like spicy pickles, add a little red chili to one jar to see how it comes out!


Leave a Comment