
Why aren't we eating more eggplant in life? I'm serious. Most people's go-to vegetables are broccoli, asparagus, zucchini, summer squash, cauliflower and brussel sprouts (occasionally). And yes, potatoes, carrots, onions, cucumbers are also incredibly popular. But what about lonely, little eggplant? Sure, you bring it out for fried eggplant parmesan - who doesn't? However, roasting and sautéing eggplant is a fantastic way to enjoy this versatile vegetable. In my roasted eggplant with a cheesy ricotta blend you'll get all the deliciousness of eggplant parmesan without the breading station and fry clean-up.
Eggplant can be a bright and shining star if you let it
How many times have you been in the produce department, looked at the eggplant and said, "Meh, what am I going to do with that?" I've done it myself, I know. Now, what I try to do is say - "how can I incorporate eggplant into my meals this week?" This recipe is easy because it's similar to eggplant parmesan but a little easier to prepare.
red sauce
Would you like to save this?
You'll also be the first to hear about new recipes in my weekly-ish newsletter! 🙂
I have come to appreciate roasted eggplant over the years. This is a hassle-free way to cook it with incredible results. You need only slice the eggplant into thick cuts and add olive oil, salt and pepper. That's it. Then let your oven work the magic until the eggplant is oh so golden brown. Roasted eggplant is the star of the dish. It's incredible!
The rest it rudimentary. Blend awesome cheeses together for the layers, cook pasta and heat that incredible homemade sauce you've had in the freezer. Of course, I highly recommend my Big Batch, Slow Cooked Spaghetti Sauce that I grew up on.
This is my mom's recipe and it is to die for. This is a spaghetti sauce that I make gallons of at a time as you'll see in the video of that recipe. Then all you have to do is divide it up into various plastic containers and freeze it. Then pull out what you need, when you need it. Having this sauce on hand is a lifesaver!
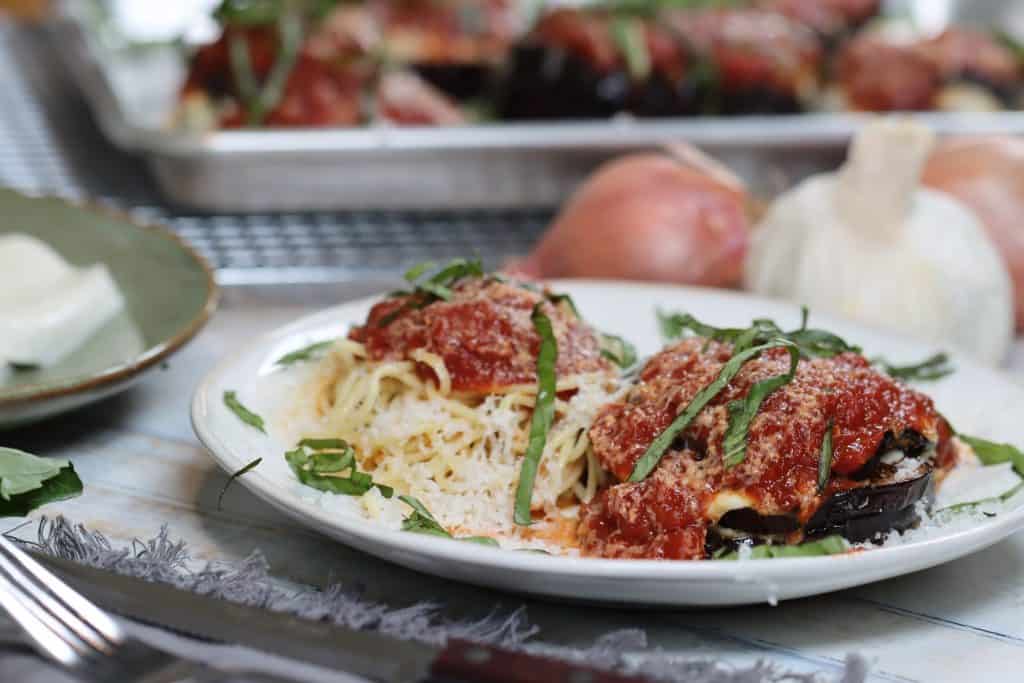
One of my favorite comforts foods is this roasted eggplant with cheesy ricotta blend. The flavor profile is everything I want on a cool fall evening.
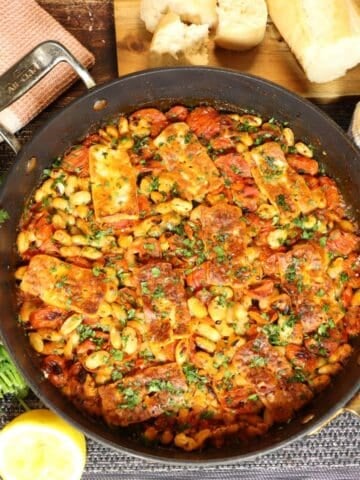
So go forth and cook! Make delicious meals for yourself and your loved ones. You're all worth! And if you're looking for more uses for my homemade spaghetti sauce, you simple must try my Crispy Chicken Parmesan or my Insanely Delicious Meatballs.
Print
Roasted Eggplant Towers with Cheesy Ricotta Blend
- Prep Time: 20 minutes
- Cook Time: 50 minutes
- Total Time: 1 hour 10 minutes
- Yield: 6 portions 1x
Description
Roasted eggplant towers with cheesy ricotta blend, homemade spaghetti sauce and fresh basil. An easy, gourmet meal for your loved ones.
Ingredients
- 2 medium to large eggplant
- 2 quarts of homemade spaghetti sauce (or your favorite jarred sauce)
- 1 box of spaghetti (any kind)
- ½ cup fresh grated parmesan for topping (optional)
- 1 small package of sliced, fresh mozzarella rounds
- 1 bunch basil for topping (optional)
- Olive oil, as needed
- Salt and pepper to taste
Ricotta filling
- 1 cup ricotta cheese
- ½ cup shredded parmesan cheese
- ½ cup shredded mozzarella cheese
- 2 tablespoons shallot (or any onion)
- 1 clove of garlic, finely chopped
- 2 tablespoons finely chopped parsley
- ½ teaspoon salt
Would you like to save this?
You'll also be the first to hear about new recipes in my weekly-ish newsletter! 🙂
Instructions
- Cut the tops and bottoms of the eggplant. Slice the eggplant into thick, round slices of at least ½” – my video shows this well. If you cut the eggplant too thin it will fall apart and won’t make strong towers.
- Drizzle a teaspoon or so of olive oil on a large sheet pan. Use a pastry brush or paper towel to spread in onto the pan.
- Place eggplant rounds side by side on the sheet pan.
- Put some olive oil in a small dish (ramekin) and brush the olive oil onto the tops of the eggplant.
- Turn the eggplant and brush the other side of the eggplant with olive oil. Lightly salt and pepper just ONE side of the eggplant.
- Your oven should be preheated to 425 degrees. Put the eggplant in the oven. Cooking time will vary by oven, but should take around 30-40 minutes total. You should flip the eggplant over at the half-way point. Mostly, you’re looking for golden brown eggplant. This is when it is the most delicious!
- While the eggplant is cooking, finely dice your garlic and shallot.
- Put finely diced shallots in a small pan with a little olive oil, salt and pepper. Heat on low for a couple of minutes and stir.
- While the shallots are cooking, finely dice the parsley and set aside.
- Grate or shred your fresh parmesan cheese. You can use the stuff that comes already shredded in a bag too. I almost always have a block of fresh parmesan on hand so I used that.
- Check your shallots, they should be translucent and browning a little. Add the garlic here and a splash more olive oil. Give it a stir and cook for a minute or two until garlic is fragrant.
- Once your eggplant is finished cooking set it aside for a minute and make the ricotta mix. Leave the oven on.
- To a medium to large bowl add: ricotta cheese, parsley, shredded mozzarella, grated parmesan, shallot and garlic mixture and salt.
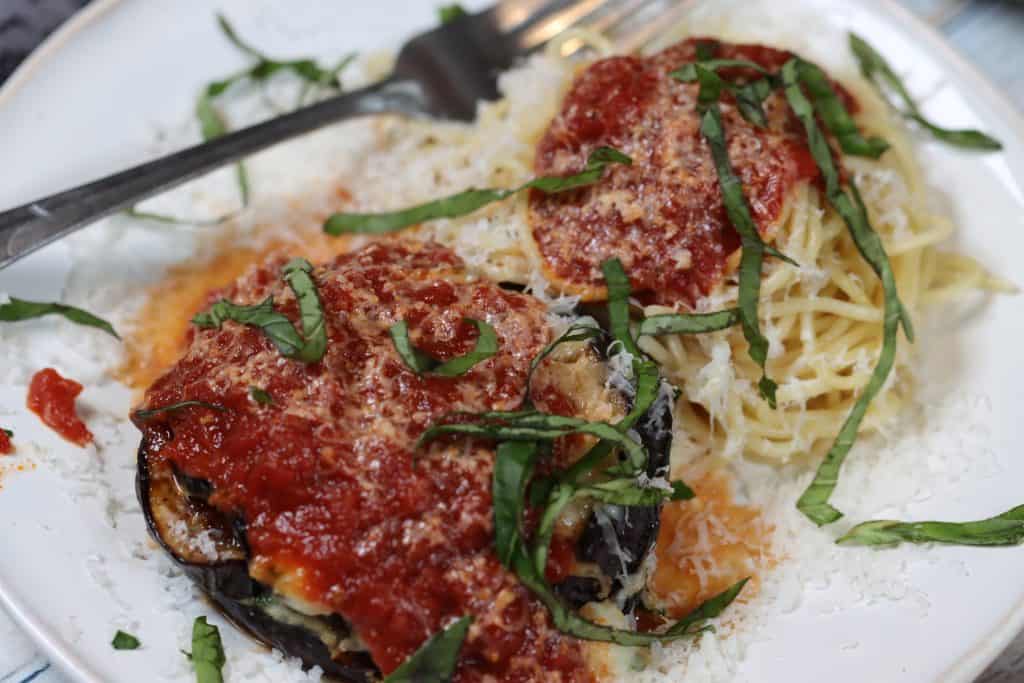
- Assemble the eggplant towers. Start with one large eggplant round on the bottom. Spoon the ricotta mixture on top of that and even it out with a spatula, if needed. Another eggplant round. A slice of fresh mozzarella. One more eggplant round for the top. Layering order from the bottom up: eggplant, ricotta mix, eggplant, sliced mozzarella, eggplant. Repeat until all eggplant pieces are used.
- Once your eggplant towers are built, add a small handful of shredded mozzarella to the top or each tower.
- Bake the eggplant towers at 425 degrees for about 10-15 minutes. Ovens vary so yours may take a little more or less time. Keep checking it to make sure the cheese doesn’t burn.
- If you’re making pasta with this, your water should have been heating and boiling at this point. Cook your pasta per box instructions.
- You should also be heating your red sauce. I used my homemade spaghetti sauce which I highly recommend. I always have frozen containers on hand for recipes like this. You can also use your own favorite homemade sauce or jarred sauce as well.
- While the eggplant is cooking slice the fresh basil if you’re using it. Basil bunches vary in size. Sometimes they are teeny tiny, sometimes enormous. Use as much basil as you want. For 6 portions, start with 20 basil leaves. Stack in two piles of 10 leaves each. Roll the stack of basil leaves, then slice it into strips.
- Plate the eggplant! One tower per plate served with pasta. For presentation, I spoon the spaghetti sauce over the eggplant and garnish with fresh grated parmesan cheese and the fresh basil. Enjoy!!
Notes
- I have 2 quarts of sauce in the recipe card but if you need more go for it. I know some people prefer a little sauce and some want a LOT of sauce. Heat what you need.


Leave a Comment