

When it comes to veggie burgers, there are a grillion possibilities, right? You can make it bean-based, mushroom-based, quinoa-based and my favorite: chickpea based. There are more variations for sure, but I am deeply in love with chickpea veggie burgers on focaccia. This is another re-creation recipe of my all-time favorite veggie burger I used to order years ago at my favorite coffee shop. Anyone else remember coffee shops that weren't Starbucks and Dunkin' Donuts?
Community Supported Agriculture: A Great Way to Support Local Farmers
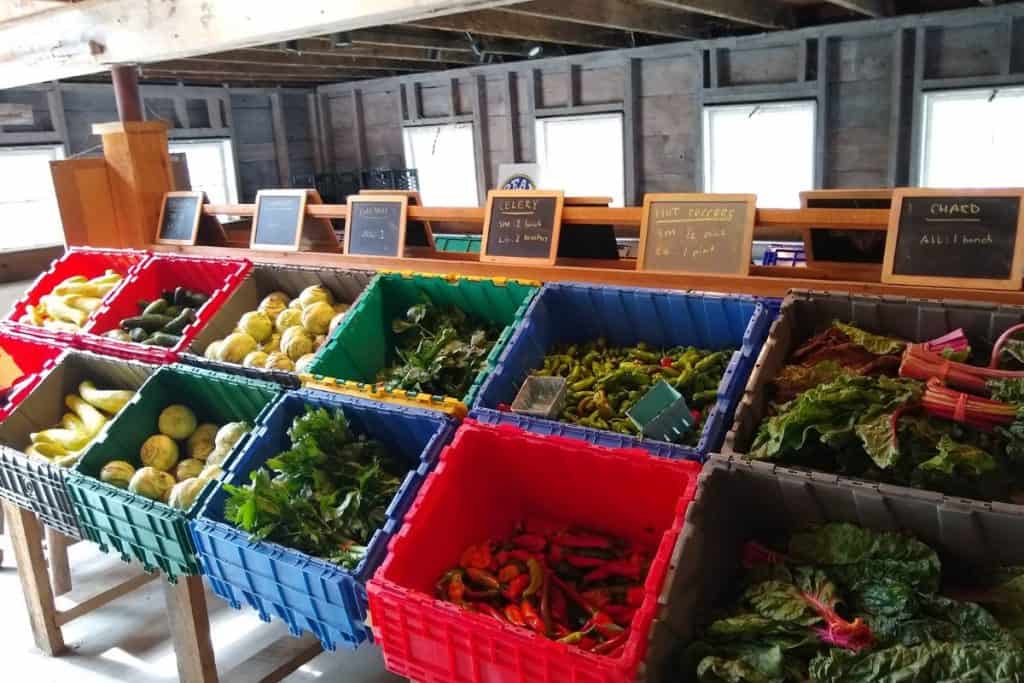
But before I get into that, I would like to welcome you to Season 2 of my Community Supported Agriculture Series. Community Supported Agriculture (CSA) is all about supporting local farms by buying a share of their harvest before the growing season and receiving farm fresh produce every week for a certain period of time. As I did last year, I purchased a summer farm share at Clark Farm in Carlisle, MA.
Each week I arrive at the farm to pick up amazing fresh salad greens, kale, swiss chard, napa cabbage, carrots, broccolini, strawberries, zucchini, and so much more. It’s such a relaxing summer ritual and I truly enjoy knowing I’m eating healthy, organic veggies that were locally grown.

I highly encourage you to look into any CSA opportunities within your community. I know it can get a little pricey depending on where you are. However, you can always split a share with a friend and make it your weekly “thing” to pick up your CSA together. I did this years ago with a friend of mine and we loved it. Most farms offer different size shares to suit different needs.
Are you local here in Massachusetts in the Carlisle/Lexington/Concord area? Great! If you don’t have a CSA share, you can still enjoy the amazing organic vegetables of Clark Farm by visiting the Clark Farm Market in Carlisle, MA. If you are not local, next time you see a farm stand, take a moment to check it out. Whenever you can, support local farming by buying a few healthy items.
A Veggie Burger True to the Name
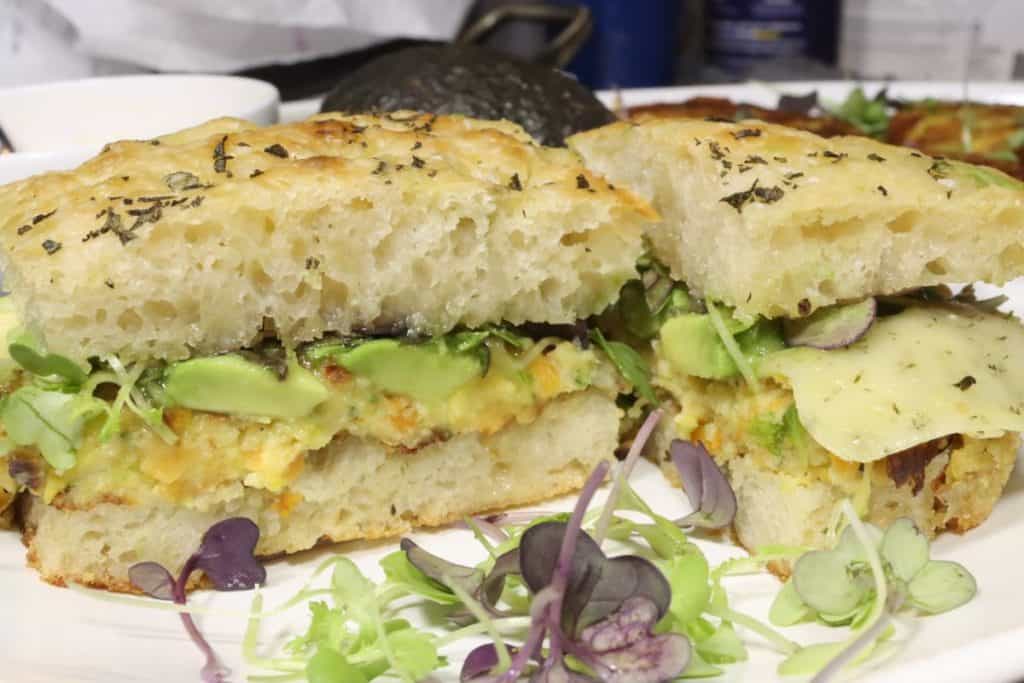
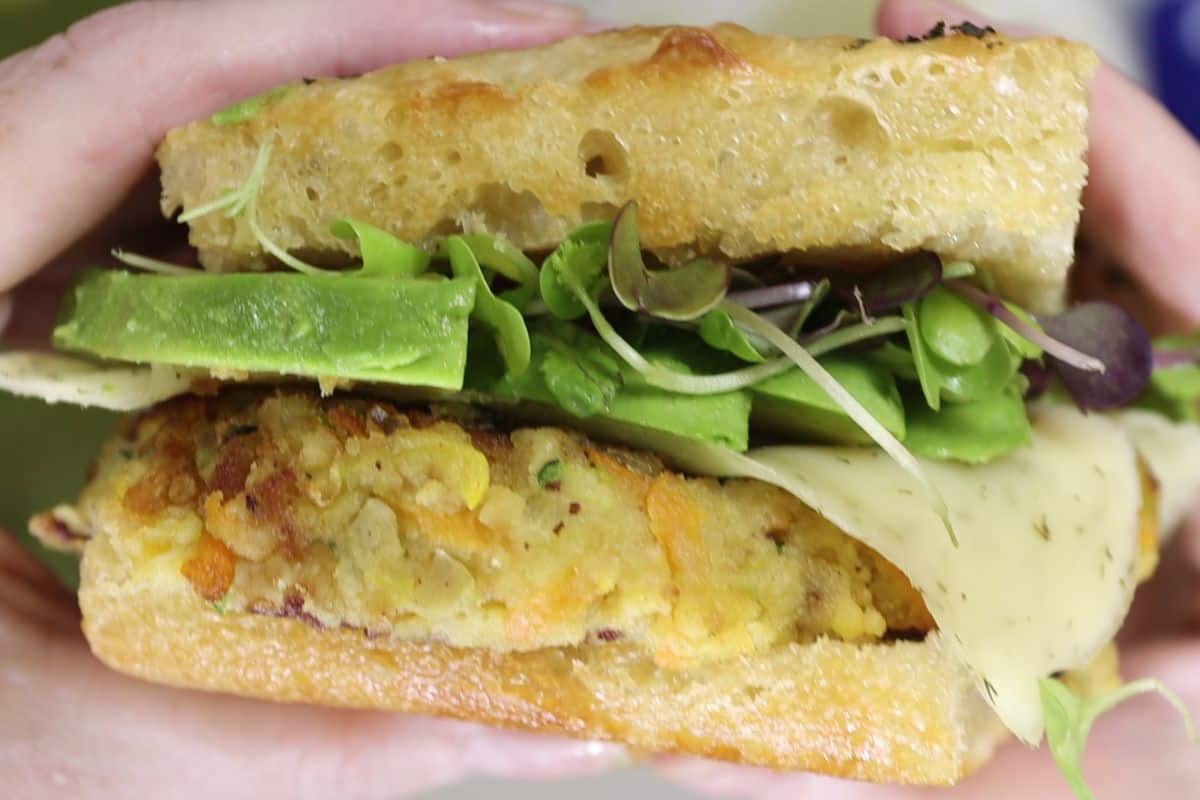
This veggie burger is filled with... vegetables! Did I need to mention this? I'm using the incredible organic zucchini, summer squash and carrots from Clark Farm for this one and I am thrilled with the result. Add some chickpeas, garlic, onion, egg, breadcrumbs and avocado and voila! A gourmet veggie burger that you will not be able to stop eating. I remember when I first had this veggie burger years ago and I fell in love with this flavor profile. Why stick with boring old lettuce, tomato and mayo to top this burger when you can so easily elevate it? Chickpea veggie burgers on focaccia are at their absolute best with honey mustard, avocado, microgreens and dill havarti. You simply must give this combo a try.
Would you like to save this?
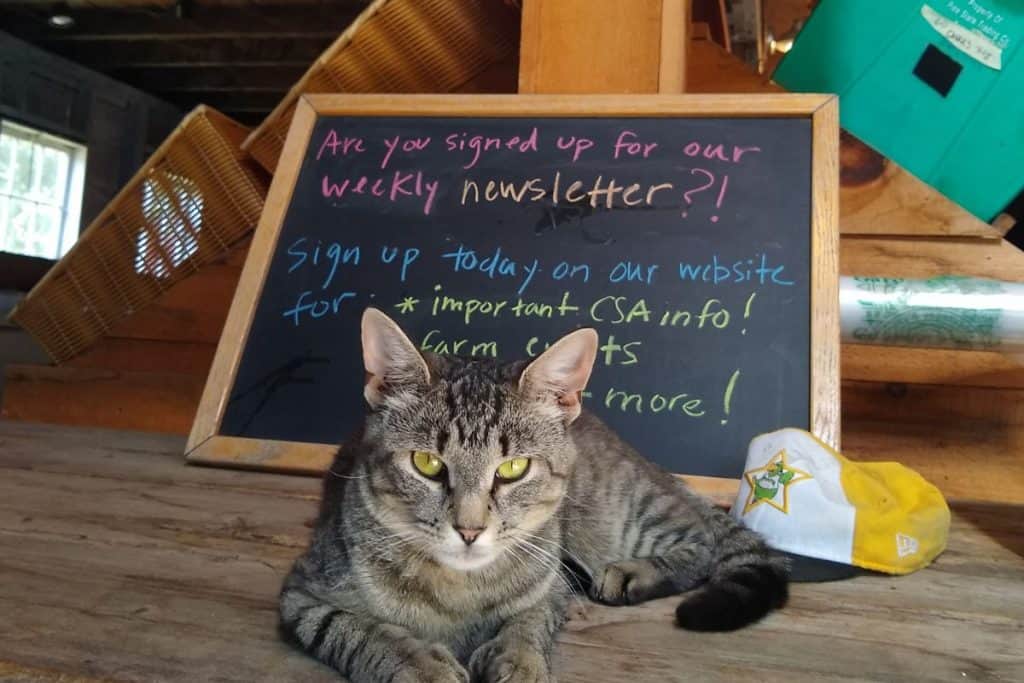
You'll also be the first to hear about new recipes in my weekly-ish newsletter! 🙂
We've had such a great season with zucchini, summer squash and carrots this year at Clark Farm. Almost every week of distribution we've had incredible squash and definitely more carrots than last season. As previously mentioned, I eat a lot of veggies in the summer and Clark Farm carrots are my absolute favorite! I cannot recommend enough to please give community supported agriculture a try if you ever get the chance.
Chickpea Veggie Burgers on Focaccia are My Favorite Vegetarian Sandwich
I will be the first to admit that I am not a fantastic baker. It's just not my thing. This is why you don't see too many sweets or baked goods in general on my website. When I do make something sweet it's something I love that I've made many times. But when it comes to bread, I am not one to experiment and develop my own recipes. However, I did find the absolute most delicious rosemary focaccia bread from a lovely website called Baker Bettie. This is the only focaccia bread I make, and I have made it many times. It's easy to prepare and so incredibly delicious. Yes, you can certainly use a French roll, brioche or ciabatta for this, but focaccia puts this sandwich over the top.
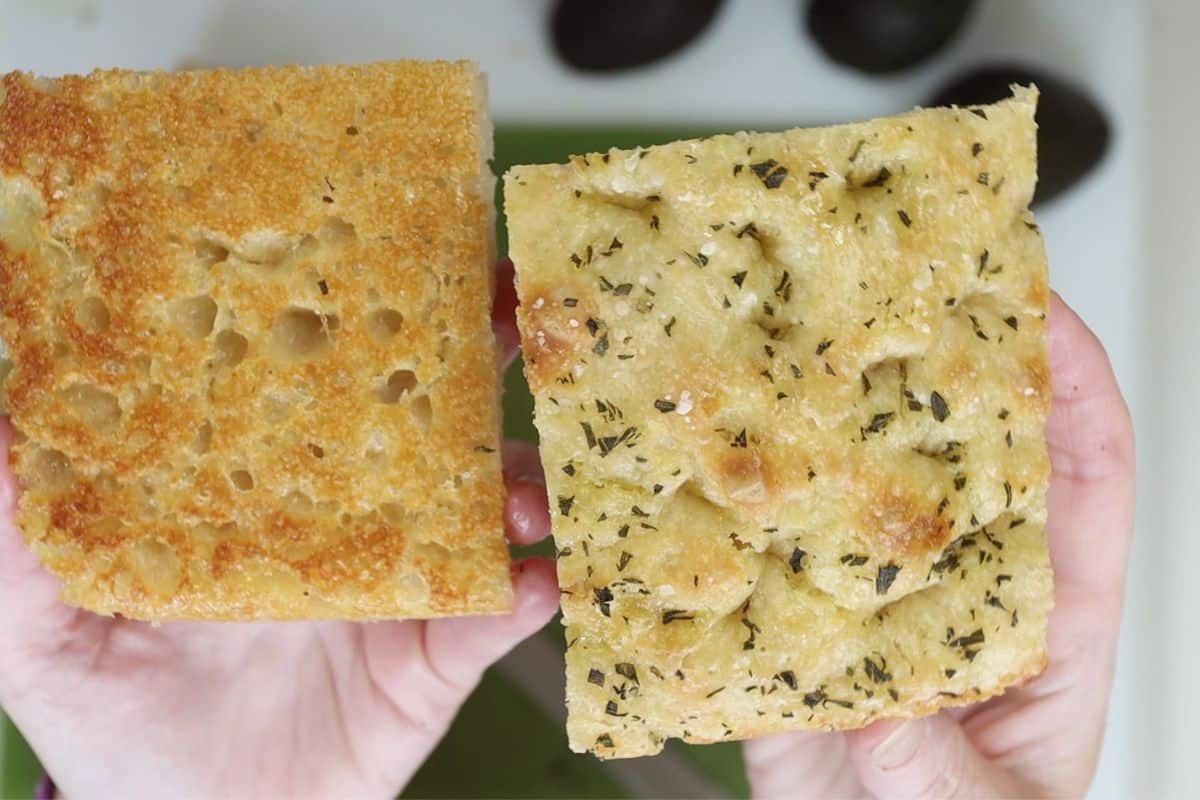
If you are a regular reader of my website (which of course you are) you know that from time to time I simply INSIST you use high quality bread for sandwich making. This sandwich is infinitely better on homemade focaccia bread or high-quality bakery bread, please trust me on this. Yes, it is also excellent on the breads mentioned above. For me, I get tremendous satisfaction out of making rosemary focaccia bread. The smell of it baking fills my kitchen and brings a huge smile to my face. When it comes out of the oven I always break off a little piece, slather it with butter and devour it. You have permission to do the same.
All the Steps to Making Focaccia Bread

All the Steps to Making Chickpea Veggie Burgers

Need More CSA Ideas to Satisfy Your Craving? No Problem:
- Roasted Veggie Tart with Leeks & Goat Cheese
- The Best Salsa You'll Ever Make
- Roasted Kohlrabi w/Lemon Garlic Tahini Sauce
- Zucchini Boats w/Garlic Tomatoes and Basil
- Incredible Zucchini & Summer Squash Gratin
- Amazing Summer Basil Pesto
- Crunchy Baked Kale Chips w/Kosher Salt
- Swiss Chard Pasta w/Lemony Breadcrumbs & Bacon Bits
- The Ultimate Roasted Veggie Sandwich
Chickpea Veggie Burgers w/ Dill Havarti & Honey Mustard on Homemade Focaccia Bread
- Prep Time: 40 minutes
- Cook Time: 35 minutes
- Total Time: 1 hour 15 minutes
- Yield: 4-5 veggie burgers 1x
Description
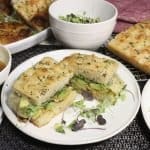
Chickpea veggie burgers on focaccia bread with dill havarti, honey mustard, avocado and microgreens are a revelation. You’re going to love this one.
Ingredients
For the focaccia bread (Baker Bettie’s recipe)
- 3 cups bread flour
- 1 cup all-purpose flour + 2 tablespoons
- 1 ¾ cup room temperature water
- ½ teaspoon of active dry yeast (or ¼ teaspoon rapid rise yeast)
- 2 tablespoons olive oil
- 2 teaspoons salt
- 2 tablespoons olive oil (additional from above for pan and top of dough)
- 1 tablespoon rosemary, finely chopped
- 2-3 pinches of flaky, coarse salt for top of dough
For the honey mustard
- ⅓ cup honey
- 1 tablespoon dijon mustard
- 1 teaspoon or so of warm tap water (to thin out)
For the veggie burger
- 1 cup shredded zucchini (1-2 small zucchini)
- 1 cup shredded summer squash (1-2 small summer squash)
- 1 cup shredded carrot (2-3 small carrots)
- 1 cup finely diced onion
- 1 large garlic clove, finely diced
- 1 15.5-ounce can of chick peas, drained (garbanzo beans)
- 1 teaspoon salt
- 1 egg
- ½ cup plain bread crumbs (I used Progresso)
- ½ of an avocado, mashed
- 1 small package of dill havarti cheese (see note #1)
- Canola oil for frying (or other neutral oil)
- 2-3 additional avocados to slice and add as sandwich topping
- 1 small container of microgreens or alfalfa sprouts (see note #2
NOTE: Prep times include active prep time and DOES NOT include all the waiting time for the bread. Plan your time, read the instructions - focaccia bread is an OVERNIGHT recipe.
Would you like to save this?
You'll also be the first to hear about new recipes in my weekly-ish newsletter! 🙂
Instructions
For the focaccia bread: (This is a recipe from Baker Bettie’s website. She is an amazing baker and I’ve made this focaccia bread many, many times. It is really delicious and easy to make too. I adapted it slightly – see note 3)
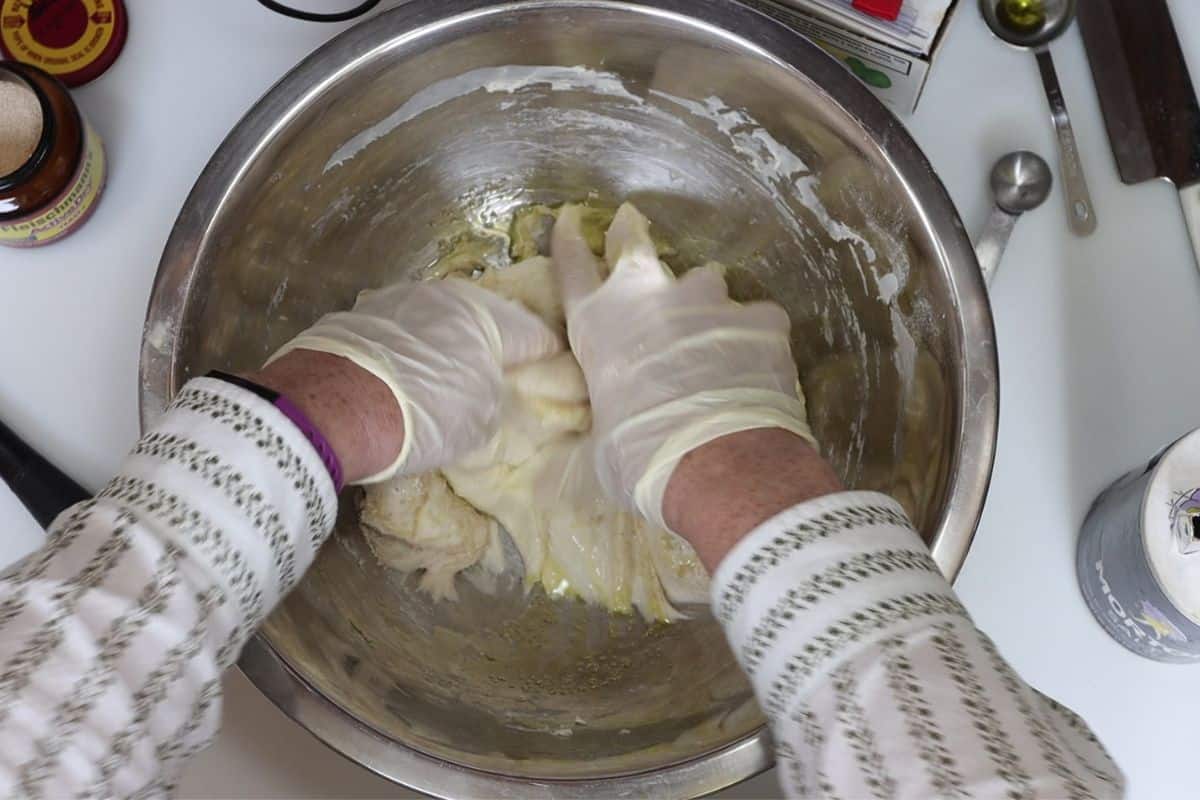
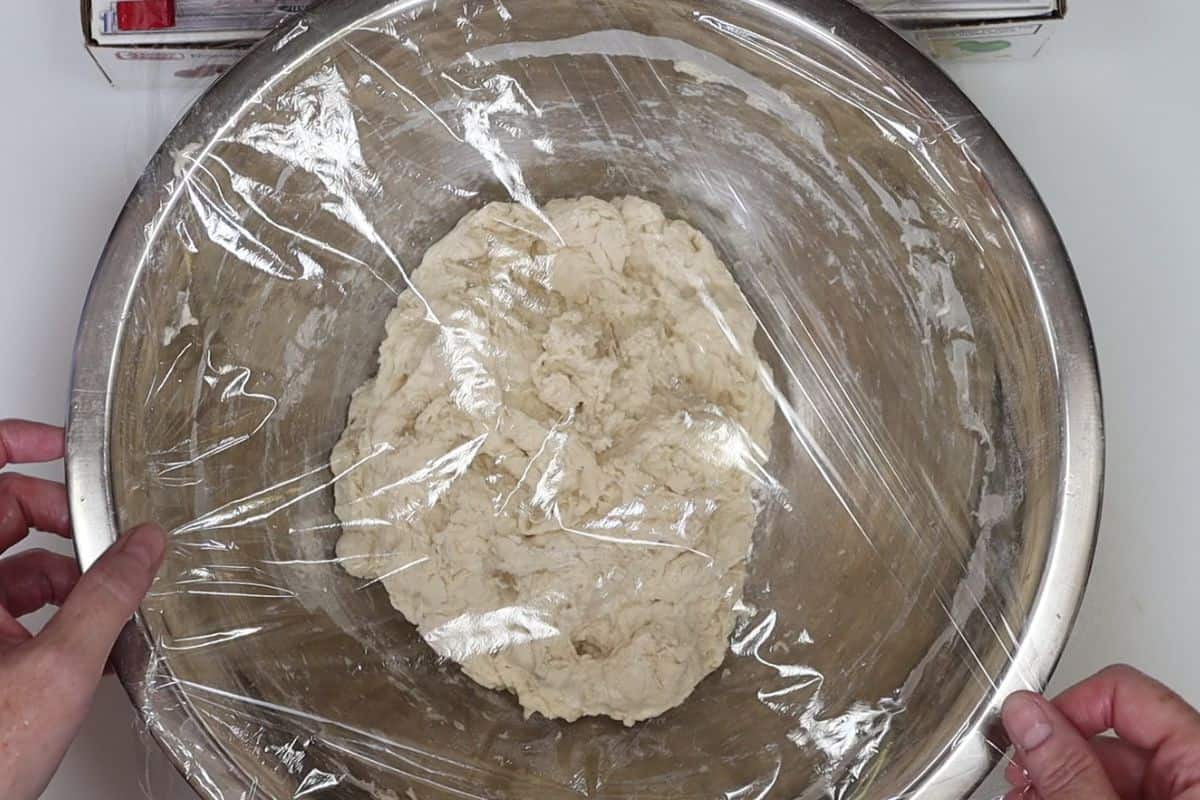
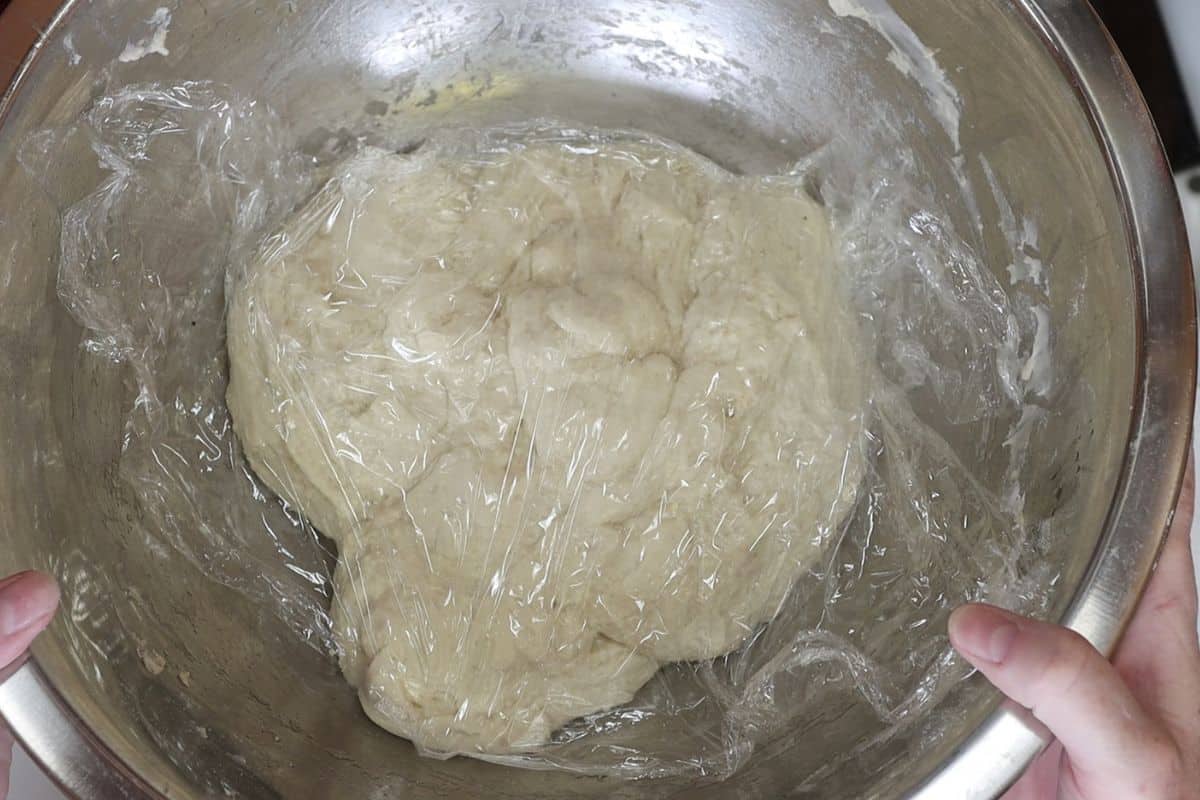
- Add the bread flour and all-purpose flour to a large mixing bowl. Add room temperature water and mix around with a spoon until the water is mixed with the flour. At the end, ditch the spoon and use your hands to finish mixing. The dough will be shaggy – sticky and wet. Cover with plastic wrap and let sit for 30 minutes and up to 2 hours on the counter. I usually let this sit for 2 hours – I think the bread tastes better when you do this.
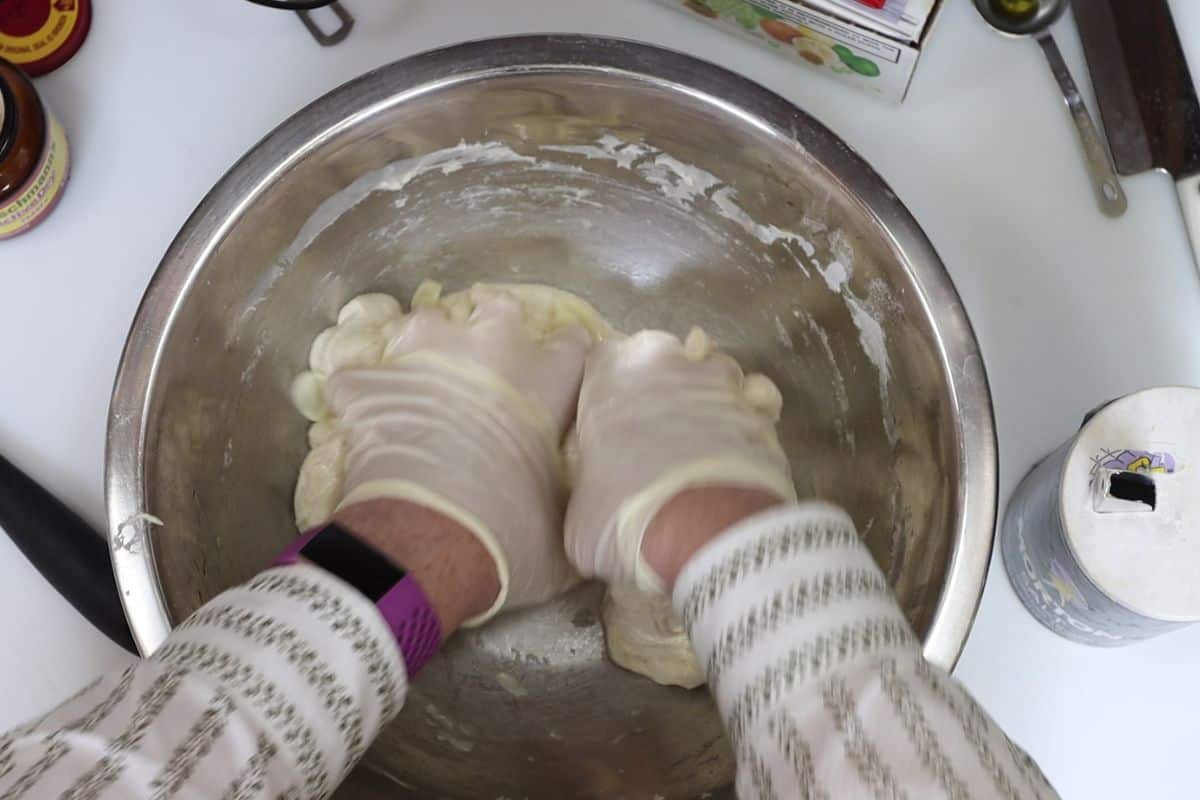
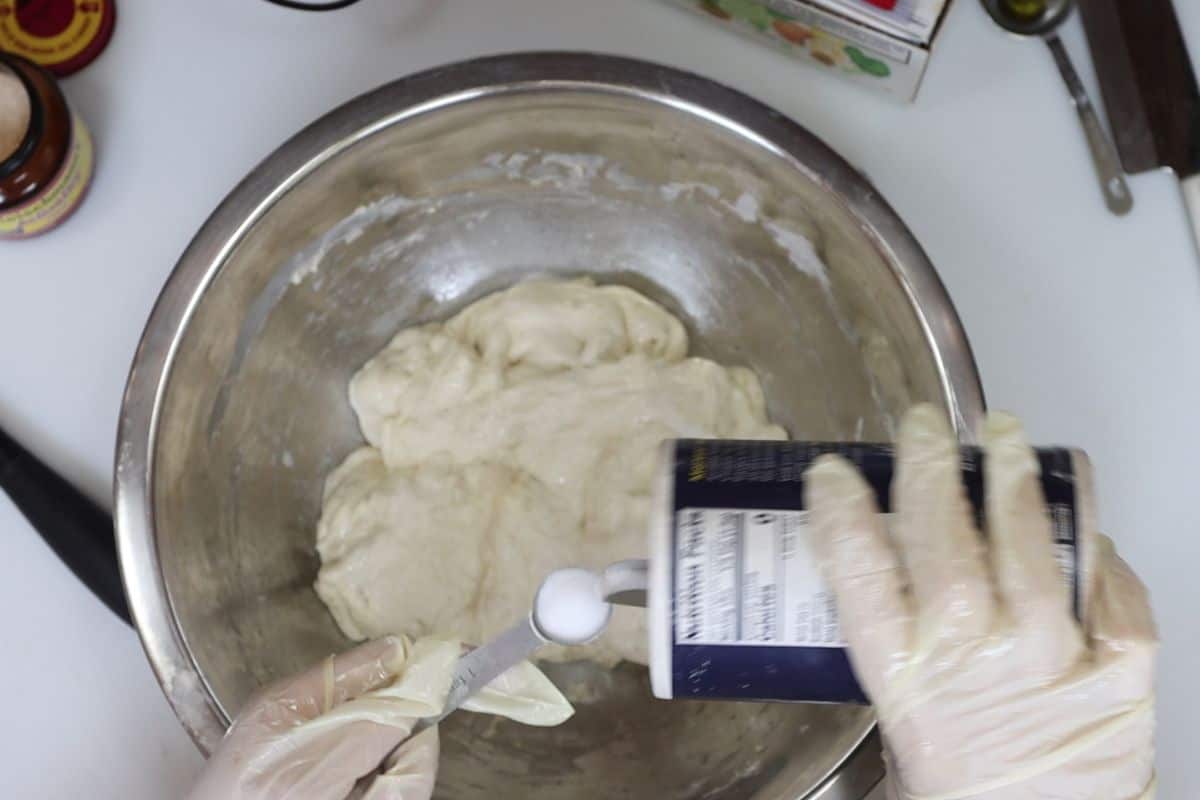
- After two hours, remove the plastic wrap and add the olive oil and yeast. Pinch and fold the dough so the olive oil and yeast are combined – this should only take a minute or so. Next, add the salt over the top of the dough and pinch and fold the dough again until everything is well combined. Should take a couple minutes here.
- Cover dough in plastic again and let sit for 30 minutes.
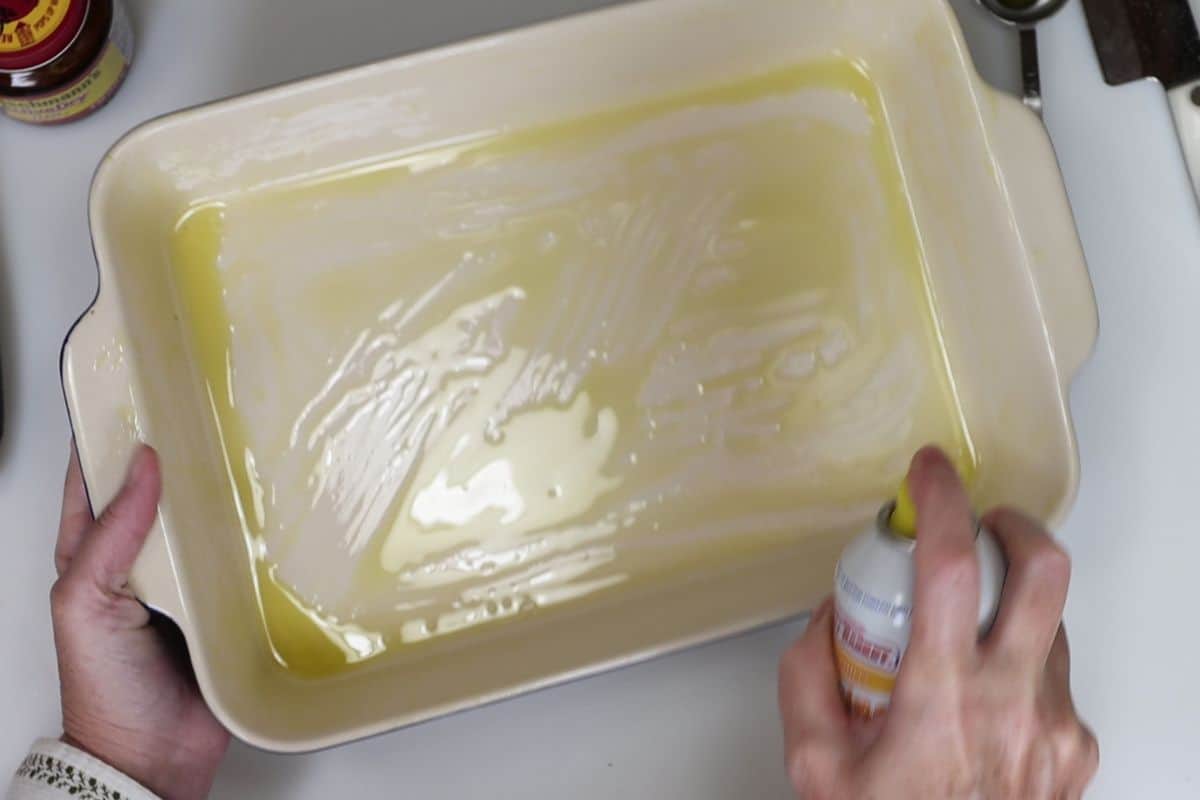
- After 30 minutes, add a tablespoon of olive oil to a 9x13 baking dish and spread it around to evenly coat the whole dish. I also spray non-stick spray to the bottom and sides. I know it seems like overkill, but I’ve made this bread many times in many ways. I found without the addition of the spray the bread was difficult to get out of the pan.
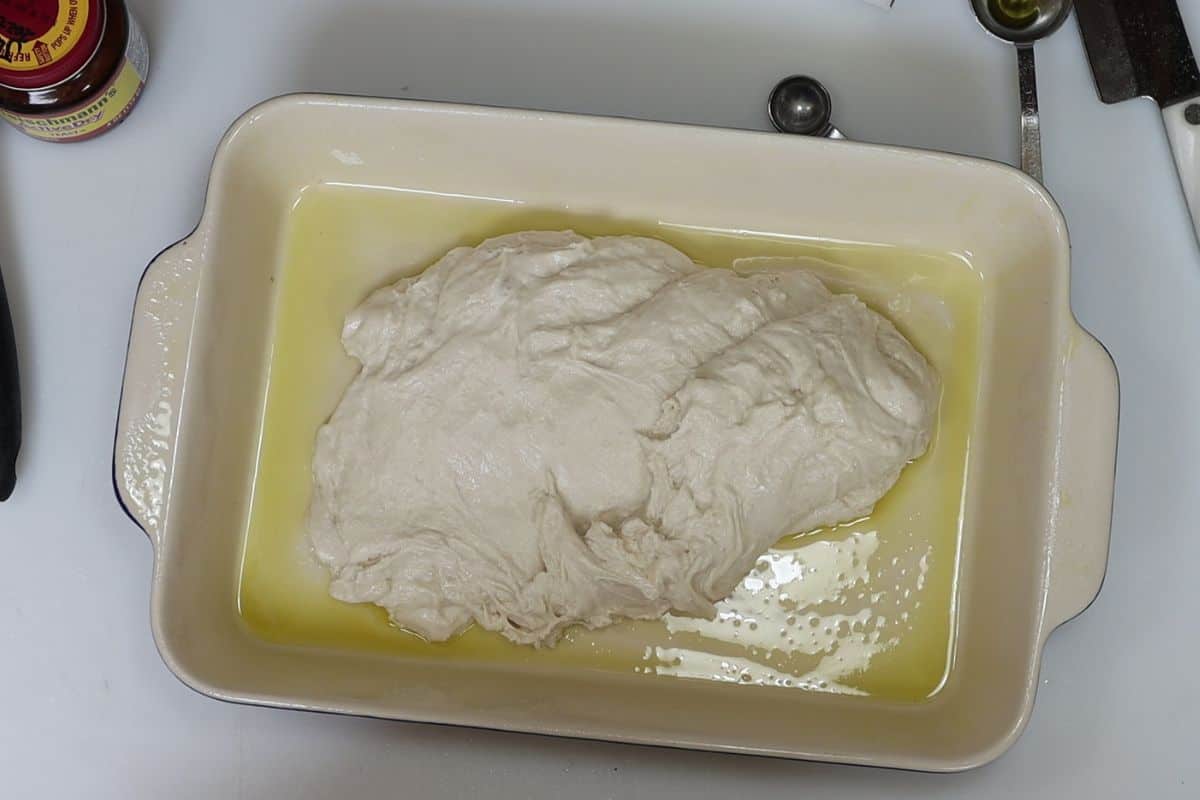
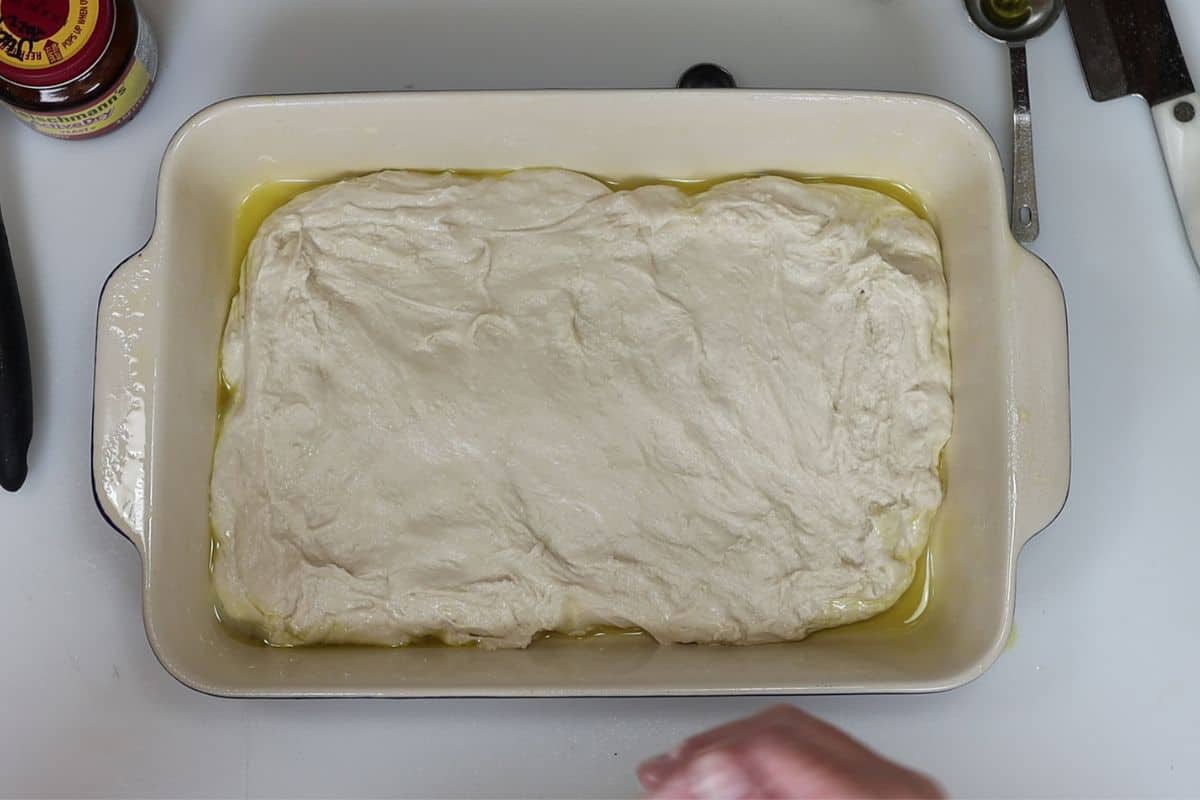
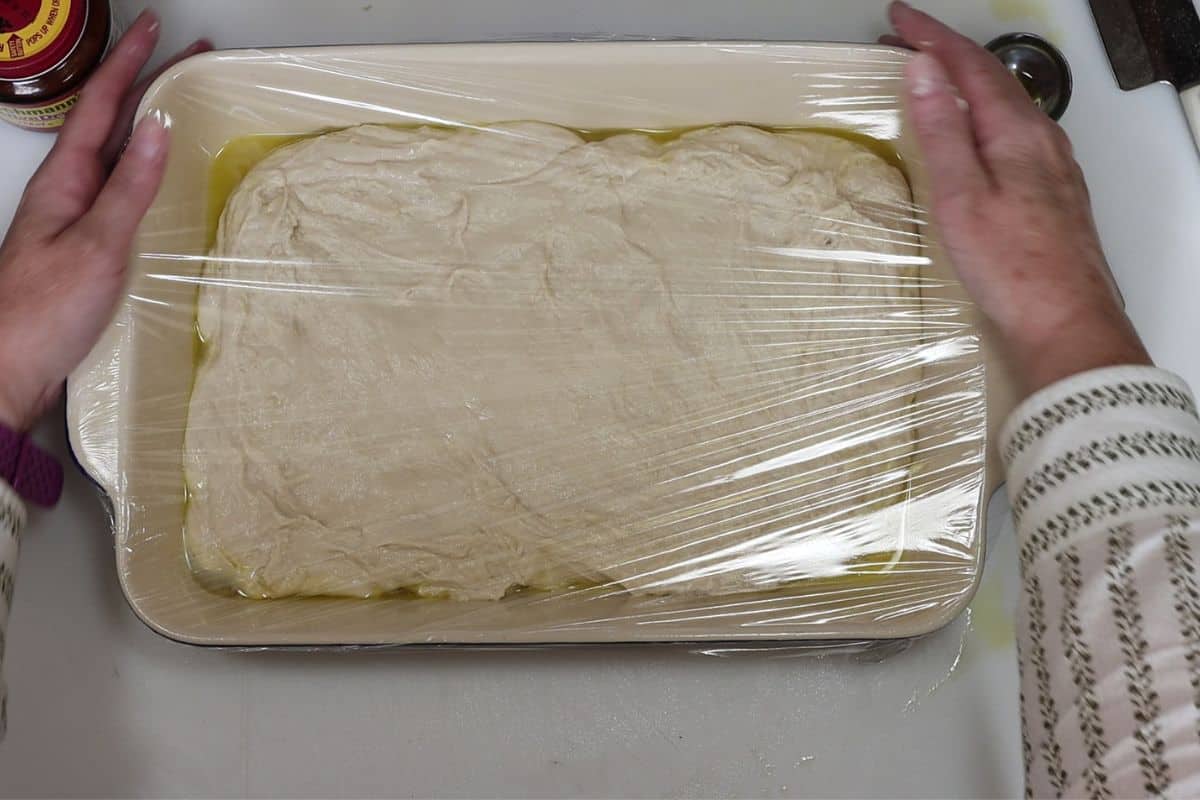
- After the baking dish is coated, transfer the dough to the dish. Gently press the dough so it reaches the corners of the dish. If the dough doesn’t stretch out, let it sit a little while longer (10 minutes maybe) to relax and then spread to the corners.
- Cover the dough in plastic and let it sit at room temperature for 8-12 hours. I usually leave it on my kitchen counter. My kitchen gets cold in the winter so when I make this bread in the winter months, I stick it in the microwave overnight.
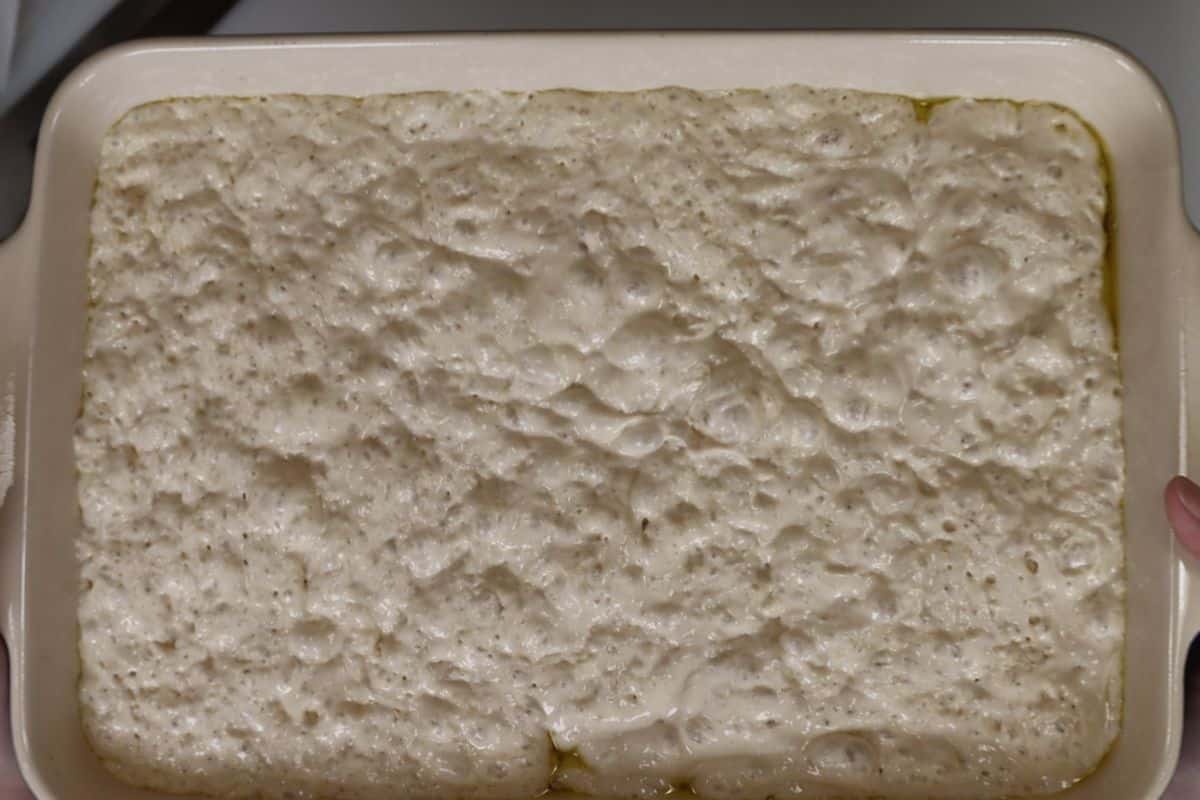
- The following day remove the plastic wrap and the dough should be bubbly on top (see video and pictures)
- Preheat the oven to 450 degrees for about 45 minutes before baking. I know that seems long, but I’ve tried baking it without letting the oven heat for 45 minutes and the bread just wasn’t the same.
- Finely dice the rosemary for the topping.
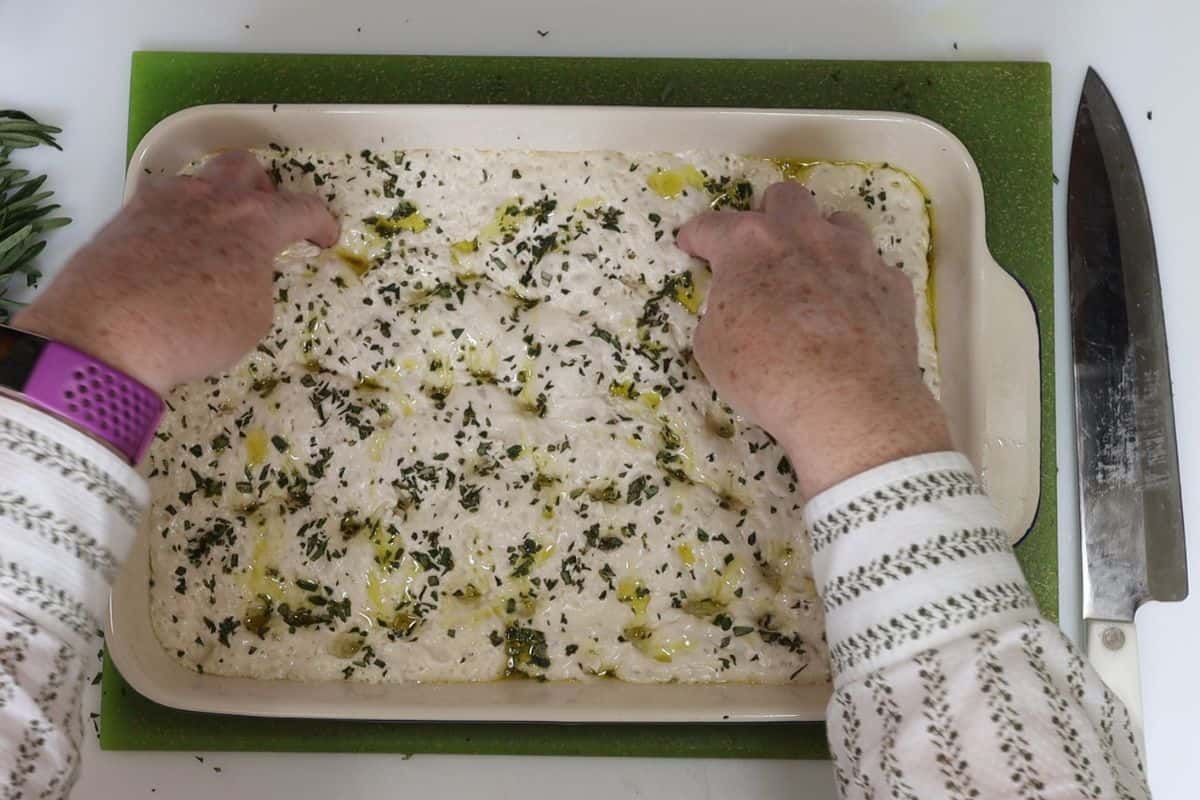
- Drizzle 1 tablespoon of olive oil over the top of the dough, add the rosemary across the top (evenly) and add a couple pinches of flaky salt to the top as well.
- To get that signature focaccia look we need to “dimple” the dough with our fingers over the top. Press gently until the indentations cover the top.
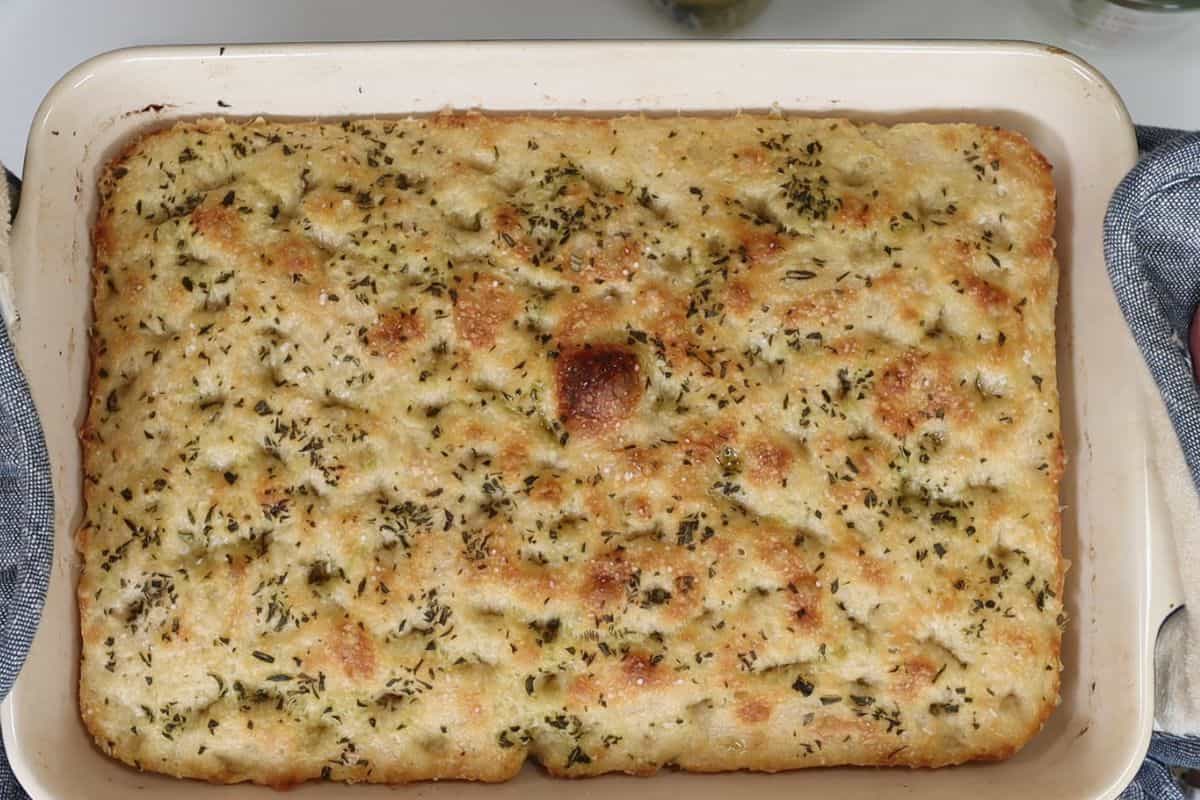
- Cook in a preheated oven for 18-23 minutes. Ovens are different. I would check it at 18 minutes. It’s ready when it turns golden brown. For my oven, it takes exactly 23 minutes.
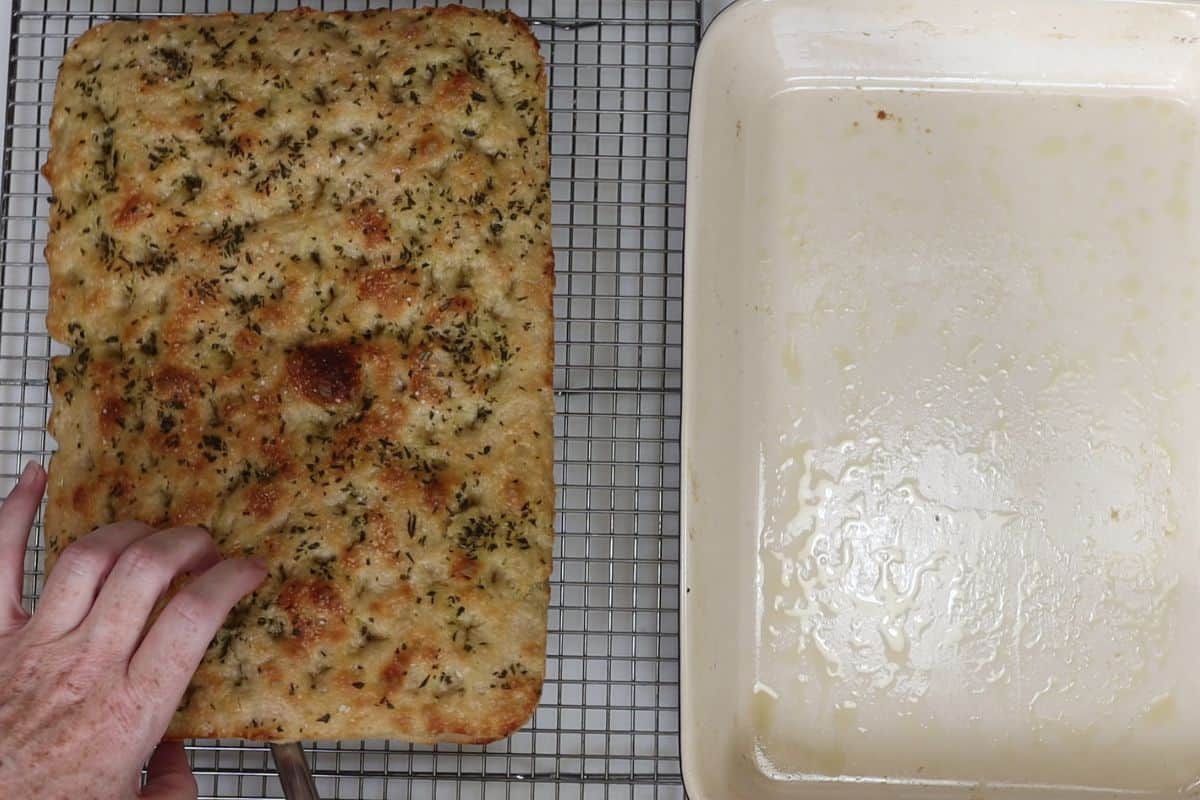
- Let it cool for 10-15 minutes, then transfer from baking dish to wire rack using a spatula.
- Again, here is the link to Baker Bettie’s site too if you want to check it out: https://bakerbettie.com/how-to-make-focaccia-bread/ In addition to the focaccia, she has an incredible website filled with delicious recipes and is an expert baker.
For the veggie burgers:
- Make the honey mustard sauce by combining the honey, dijon mustard and a splash of water. Mix with a whisk until fully combined.
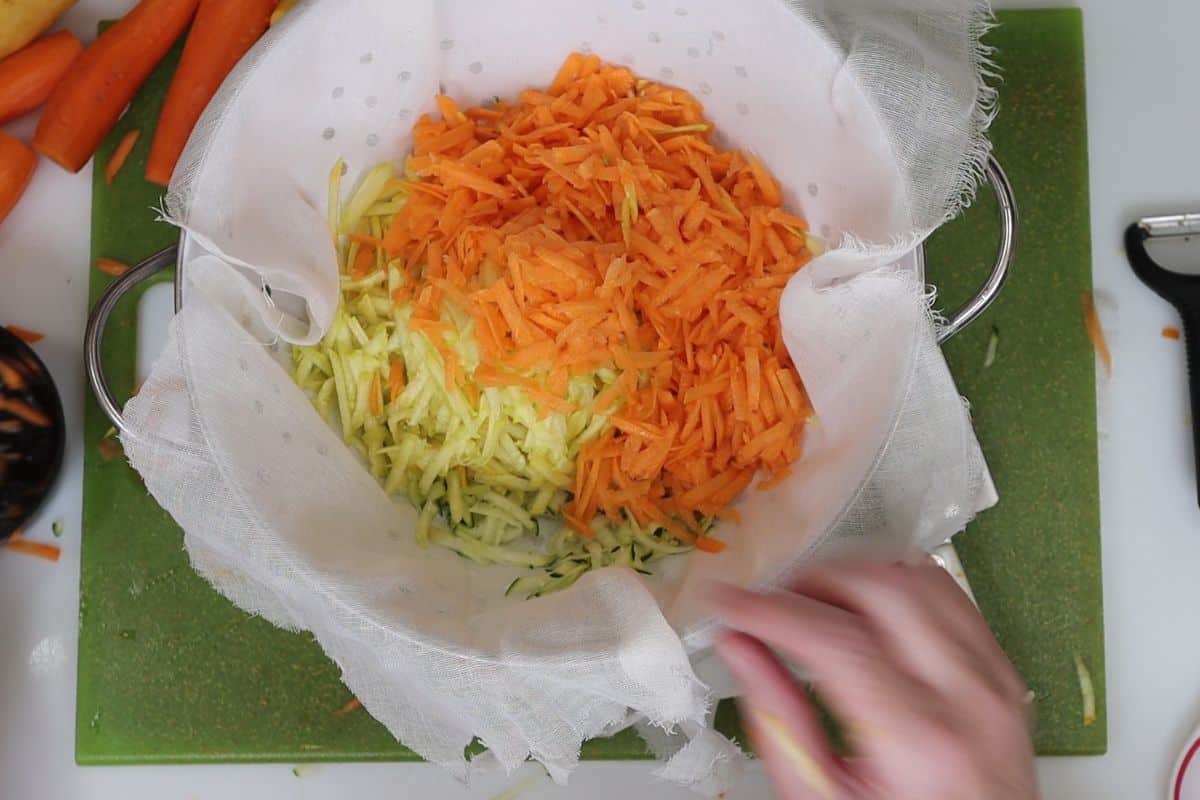
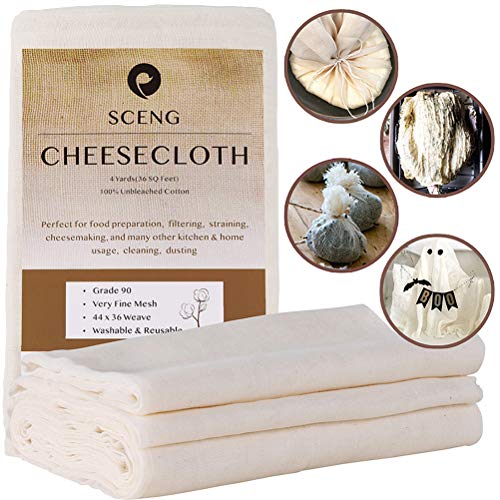
- You’ll need to get a colander that will fit inside a bowl. Cut a piece of cheesecloth (or use a couple layers of paper towel or a clean kitchen towel) and place in the colander. Set aside.
- Peel your carrots and cut the tips from the top and bottom.
- Cut the tops and bottoms from the zucchini and summer squash.
- Shred the veggies (zucchini, summer squash and carrots) then add them to the cheesecloth-lined colander. Set aside for now.
- Finely dice the onion. I needed about ¾ of one medium onion to make one cup of finely diced onion. Cut the onion in half, then slice into thin strips in one direction. Rotate onion and dice in the opposite direction. Run your knife over the onions a few more times to get the pieces as small as possible.
- Finely dice the garlic.
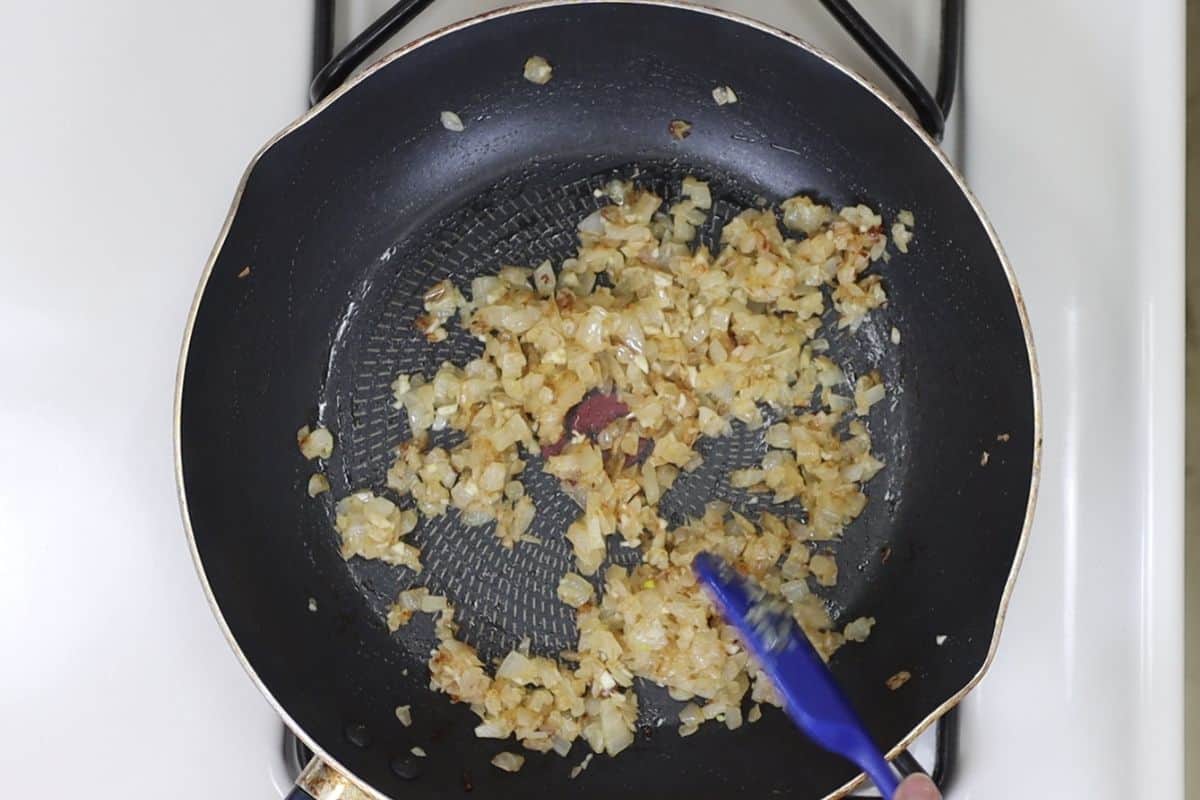
- Heat a small pan with a teaspoon or so of olive oil and add the onions. Cook for a few minutes until slightly browned.
- Add a splash more olive oil to the pan and add the garlic. Let it heat for a minute and get fragrant, then mix together with the onions and cook for another minute or two. Remove from heat and set aside.
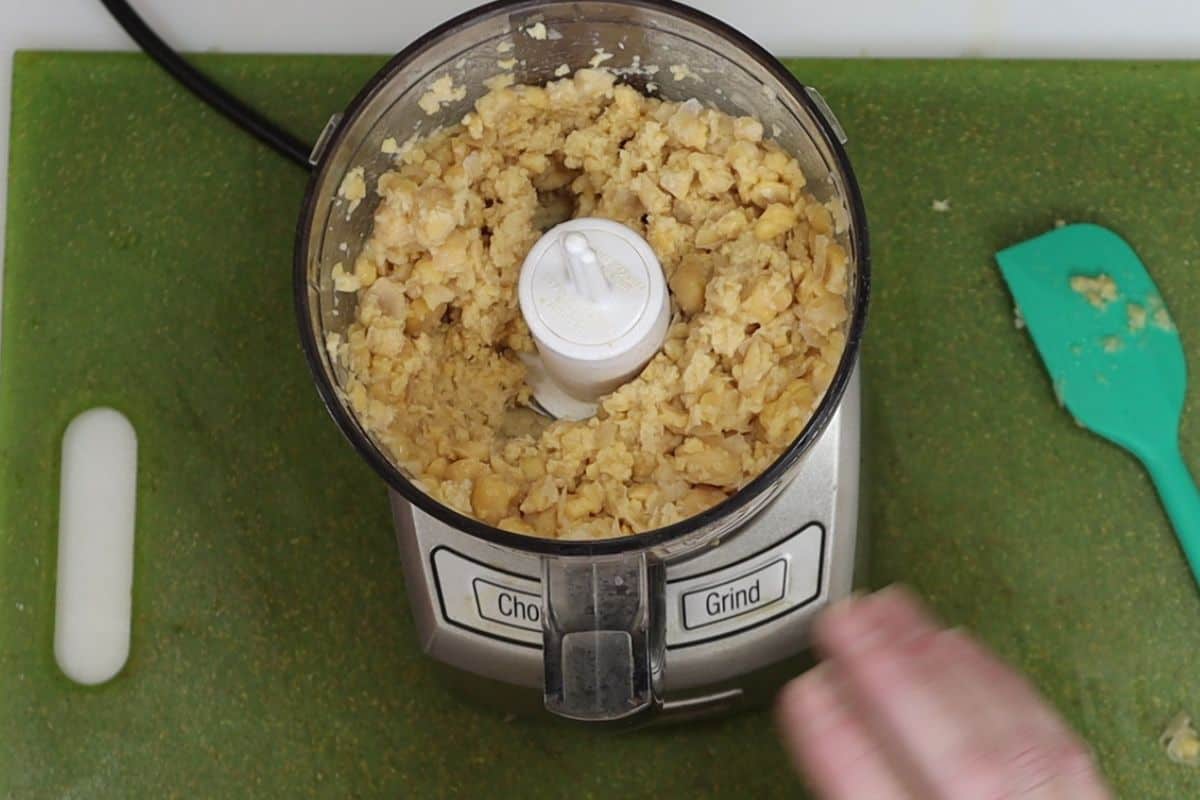
- Using a mini food processer, add one can of chick peas (garbanzo beans) to the processor and pulse it or chop it a couple of times. You want the chick peas to be more crushed than blended. Don’t blend them to a puree. If you don’t have a food processor, just use a potato masher and a bowl.
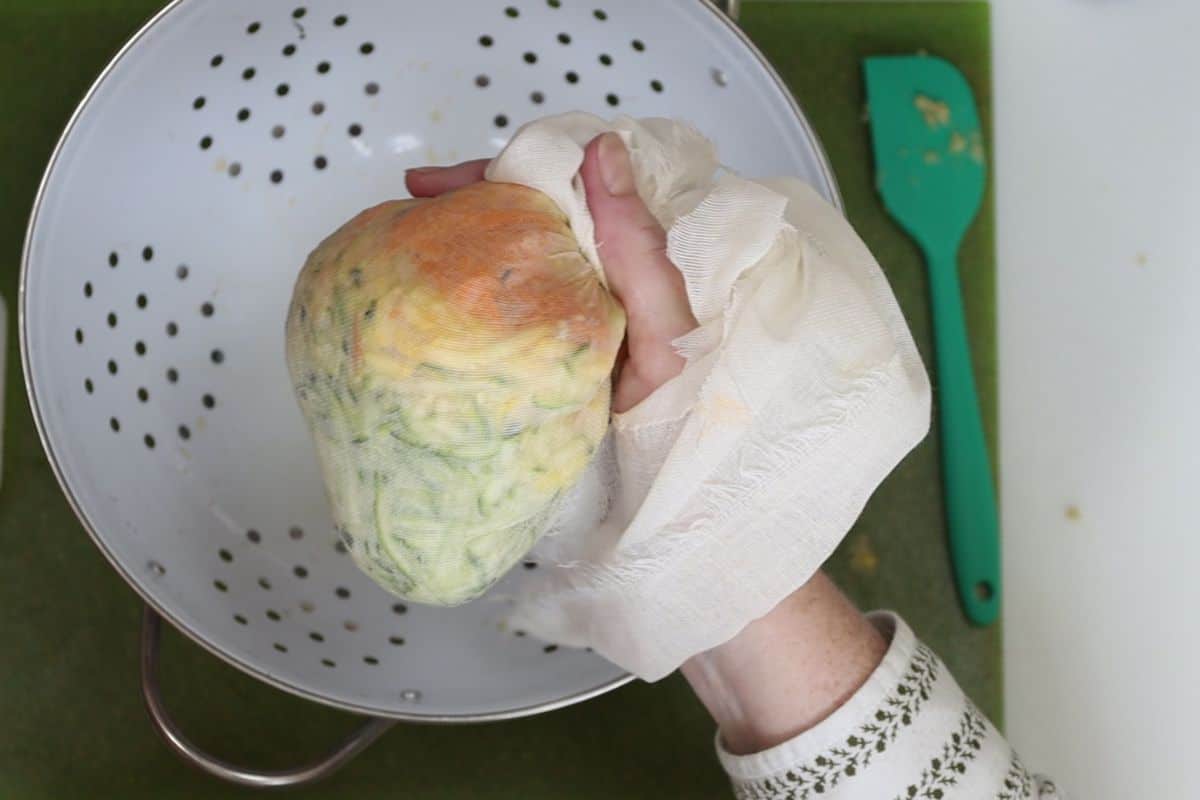
- Wrap the cheesecloth around the shredded veggies and squeeze the water out of them. Veggies have a lot of water so squeeze ‘em good. The bowl you’ve place under the colander will catch all the water.
- Add the chickpeas to a large mixing bowl along with the shredded veggies, the cooked onions and garlic, plain breadcrumbs, egg and salt.
- Cut an avocado in half and spoon out one half. Chop into pieces, put in a bowl and mash it with a fork. Then add it to the veggie mix. The egg and bread crumbs are one binder and the avocado as an additional binder to help adhere the patties. I did this last so the avocado didn’t sit out and get browned.
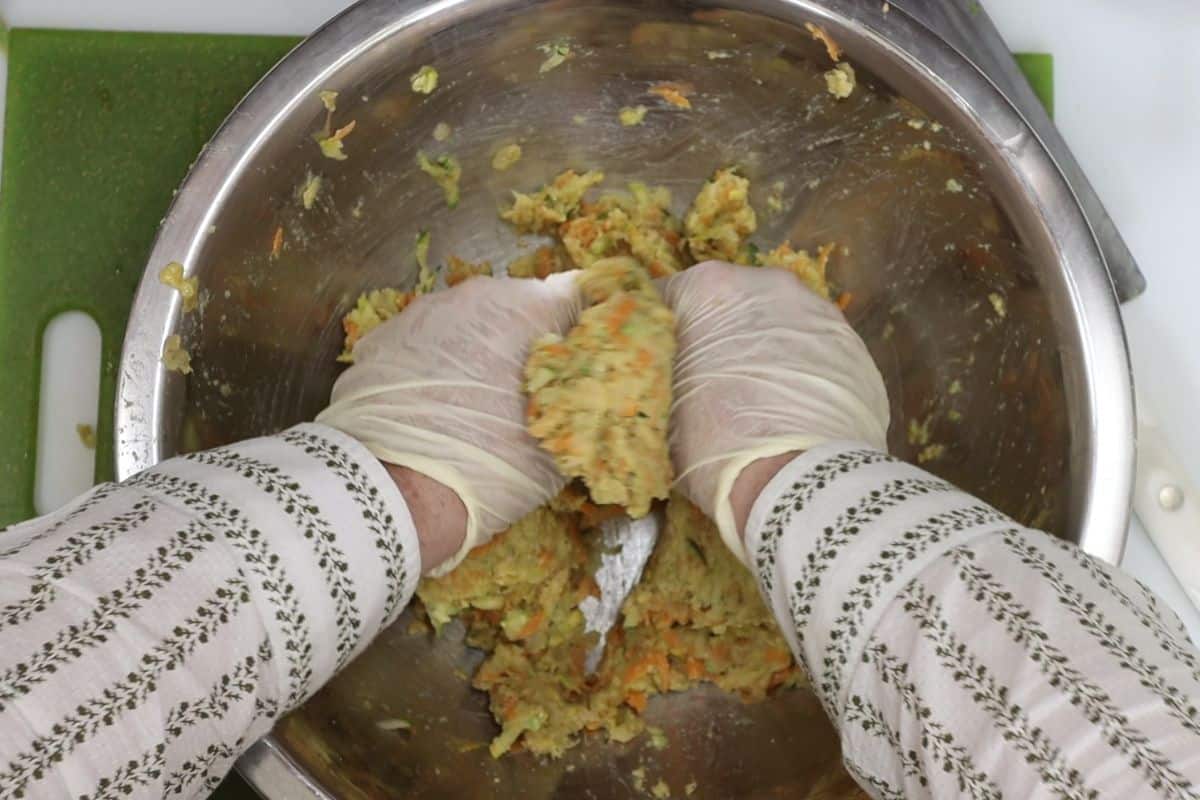
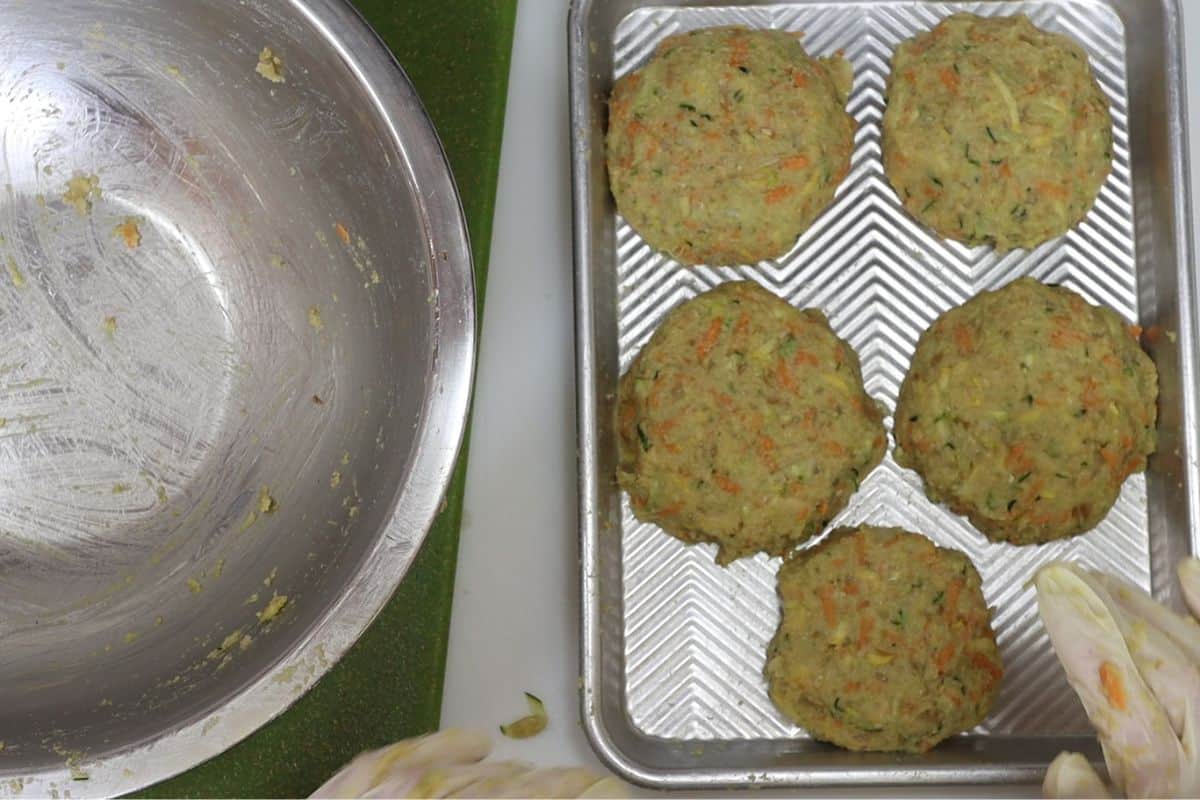
- Using kitchen gloves, mix all the veggie burger ingredients together until everything is well combined.
- Form the patties and place them on a sheet pan. You can get 4-5 patties out of the mixture.
- Cover sheet pan in plastic wrap and stick in the freezer for 30 minutes to firm up the burgers.
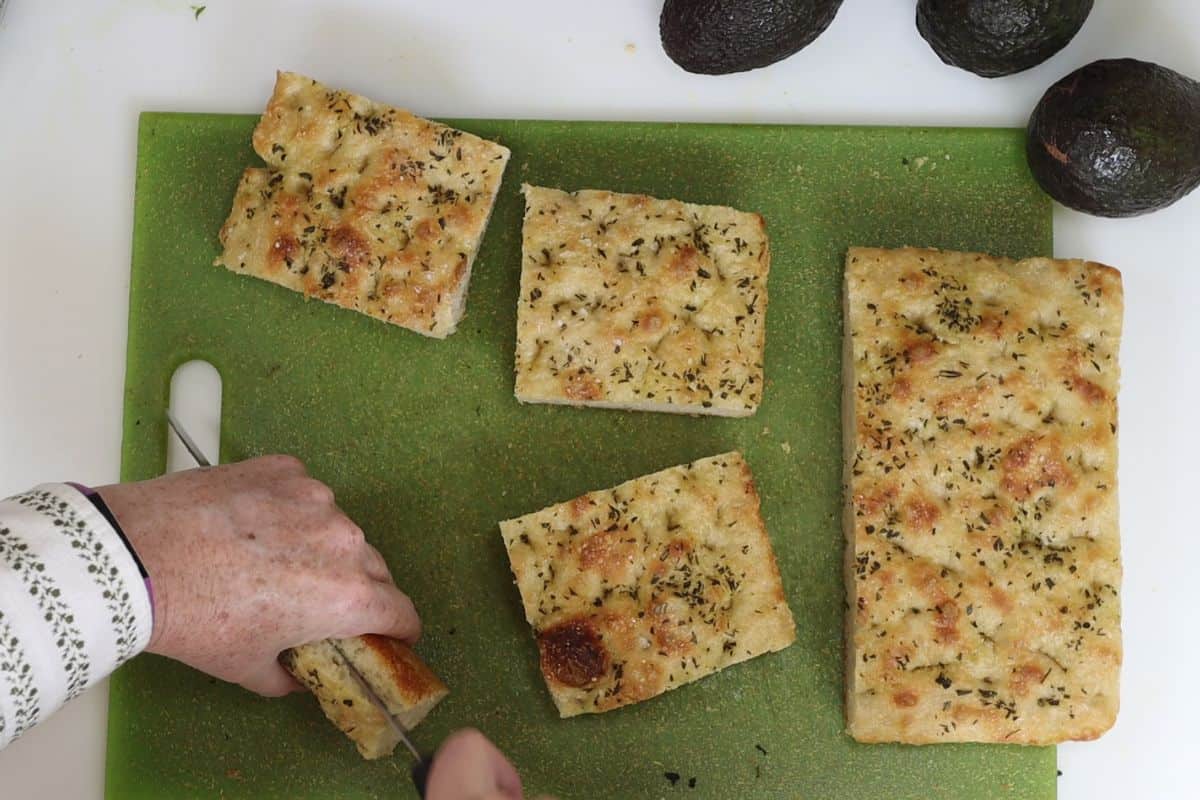
- While the burgers are in the freezer you can cut the focaccia bread to prepare to assemble your sandwiches. Just cut them into a square size that will fit the size of your patties.
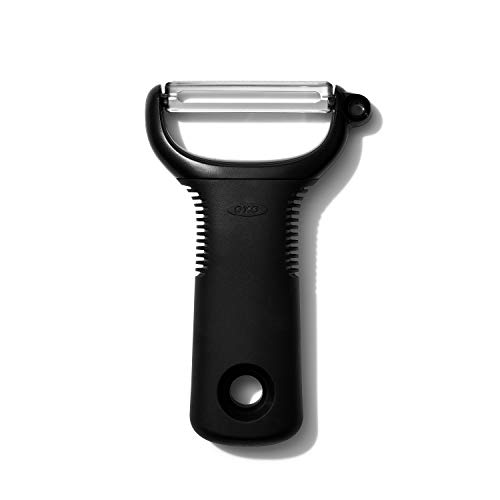
- Next, slice the dill havarti cheese with a potato peeler and put on a plate.
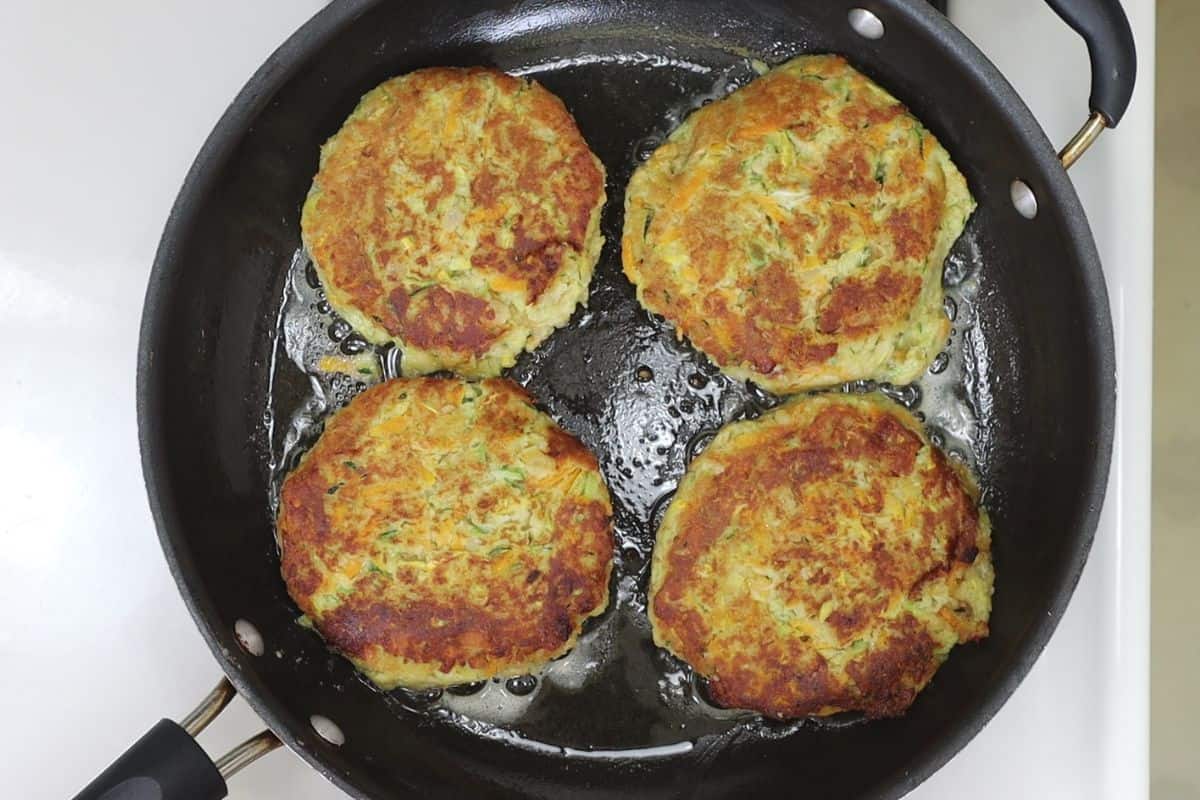
- Heat some canola oil in a pan on medium heat– about 2-3 tablespoons or so. Let the oil get nice and hot, then add the veggie burgers one by one. These are fragile veggie burgers so you need to handle with care. Adjust heat to slightly below medium. Cook for 5 minutes until the bottom is golden brown.
- After five minutes, carefully turn the burgers with a spatula. You may need an additional smaller spatula to assist with the turn. (my video shows all this well). Cook another five minutes.
- When the burgers are golden brown on the other side, transfer to a small sheet pan. Be careful – as mentioned – even with binder ingredients chick pea burgers are going to be fragile.
- Last thing to do is slice additional avocados to use as a sandwich topping. Cut avocados in half, spoon them out of the skin, then slice into thin strips.
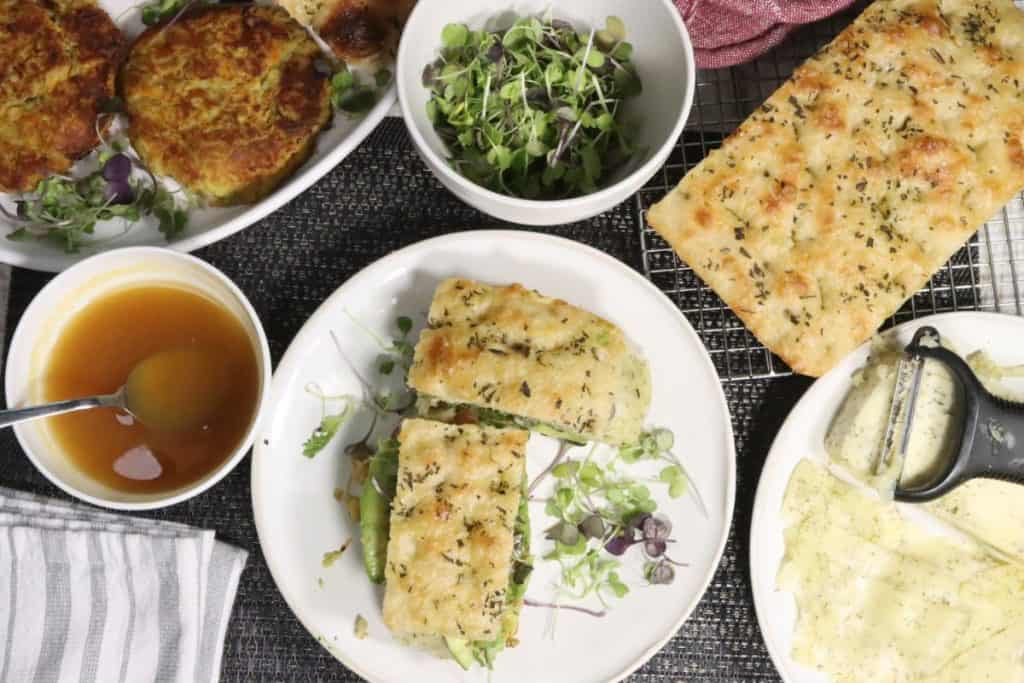
- Assemble the sandwiches. Place one veggie burger on the bottom of the focaccia bread, dill havarti on top of that, spread honey mustard on top of piece of focaccia, add sliced avocado on top of havarti, microgreens or alfalfa sprouts on top of avocado. Then put the top on the sandwich. Then eat the sandwich. Enjoy!


Notes
- With the dill havarti they almost never have it sliced and packaged at my grocery store and it isn’t a cheese the deli usually has on hand to slice for you. However, they always sell blocks of dill havarti in the other cheese section of the store so you will likely find it there. If you can’t just use plain havarti or sliced cheddar instead. I don’t think American cheese would be a good pairing for this.
- I normally use alfalfa sprouts for this sandwich but they didn’t have any at the store. I went with microgreens for this recipe and loved the result. The downside is that microgreens tend to be expensive so if you can find alfalfa sprouts go with that instead.
- Baker Bettie focaccia bread is the only focaccia bread I make. It’s super easy to put together and is fantastic. The two slight modifications I made were using a combination of bread and all-purpose flour and using olive oil AND non-stick spray to grease the pan. I played with this recipe a lot and made tons of focaccia bread. The best version, to me, was a combination of the two types of flour rather than sticking to just one kind. I also found greasing with olive oil was not enough and the bread always stuck to the bottom too much. Once I added the non-stick spray on top of the olive oil the bread never got stuck again.

Leave a Comment